Using and Learning React for 2 Years, What Have I Learnt
Table of Contents
I have to be honest, in the beginning, I was reluctant to learn React.
I had already attempted using AngularJS 1 and although it had a few benefits I didn’t feel like it was worth learning and using it.
When I started researching React, it felt as there was a lot to learn before you could get started.
There was ES6 or modern Javascript, something called Webpack and a few other things.
But once I got started and understood how everything came together, I could see the benefit of using React especially when used with other services.
In this post, I wanted to share my experience of learning and using React, especially things I wish I knew before I started.
Let’s get started.
Good understanding of JavaScript & ES6
Depending on when you started with web development, you will either have experience with JavaScript or one of its frameworks.
Because JavaScript has been around for some time, learning it can be a challenge.
For that reason, a lot of frameworks were created to make it easier to use JavaScript in web development.
One of the most popular frameworks is JQuery.
If you are familiar with JQuery, don’t confuse it with JavaScript as the two are quite different.
Before learning React, make sure you have a good understanding of JavaScript or you will regret it later.
Don’t worry, you don’t need to be a JavaScript expert as long as you are capable of doing common things such as working with arrays, objects, and conditional statements to name a few.
If you are looking for a course on JavaScript you can try the following one for free.
You might be wondering what is ES6 and where does it fit in?
As we mentioned earlier, JavaScript has been around for some time, and in order to stay relevant a few people decided it was time to give it an update and that is when ES6 was born.
In other words ES6 is just an updated version of JavaScript, which means if you are already familiar with JavaScript you will be able to understand ES6 relatively quickly and easily.
One of the biggest differences between JavaScript and ES6 is the syntax.
ES6 uses a more modern, shorthand syntax, which means you don’t need to write several lines of code to do something.
ES6 also brings more power and functionality to JavaScript.
React was created using ES6, so it makes sense to understand it before you start using React.
If you are looking for an introduction to ES6 you can have a look at the following free course on Scrimba.
Because ES6 is still quite new, browsers don’t understand the new syntax yet, which means it needs to be compiled into standard JavaScript which brings us to Weback.
What is Webpack and why do you need it?
Webpack is a module bundler with many useful features for creating and deploying web apps.
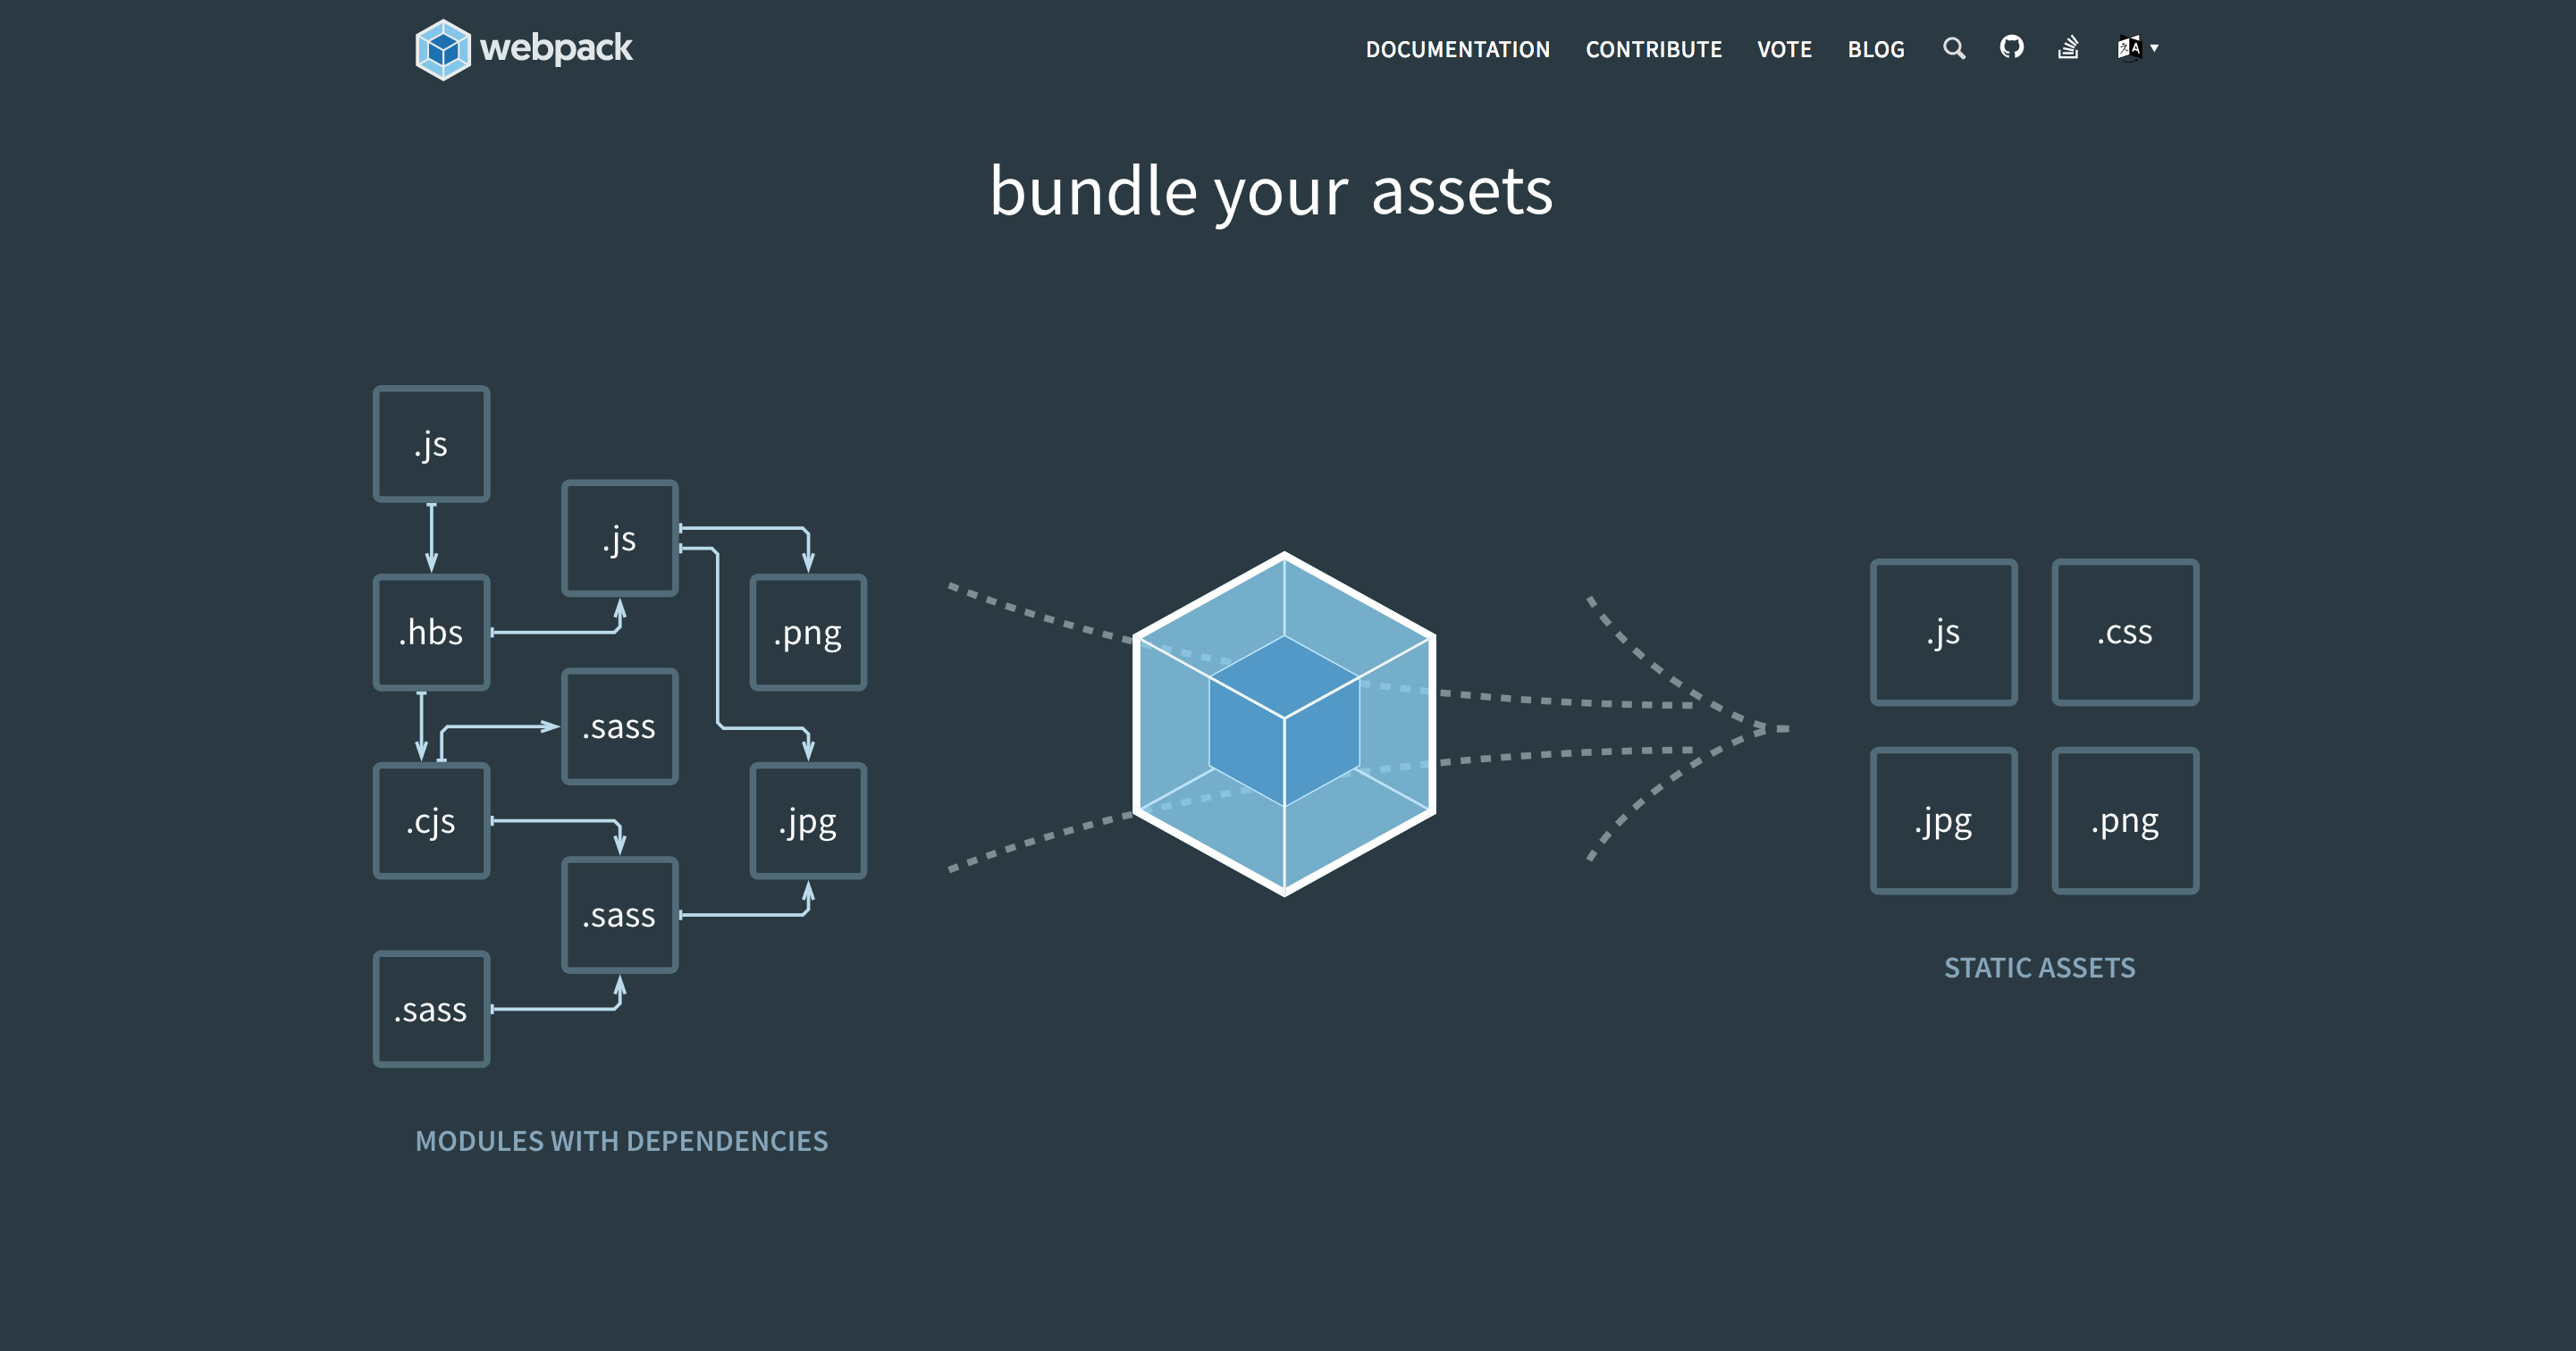
Because Webpack is module bundler and not a compiler, you need to include a compiler so that it can compile ES6 into JavaScript.
The compiler you need to use with Webpack is called, Babel.
If Babel does the compiling, why use Webpack?
Chances are that your web app will have more than just ES6, such as Sass, images, fonts, etc which needs to be processed when your app is built.
If you are just using Babel, these assets will be ignored because Babel is only for ES6 and nothing else.
There are a number of free tutorials you can use to get an understanding of how to use Webpack with React such as this one.
How to Create a React app from scratch using Webpack 4
Once you are comfortable with using Webpack, you can use the following online configurator to make your life easier.
If you don’t have the time to learn Webpack there is another option you can use which is the Create React App.
It does all the configuring for you so that you can get started on your web app immediately.
So far we have gone through things you need to know before you start using React, but what about React itself?
Different types of state and when and how to use it
State is a part of React that makes it powerful but can also be a bit difficult to understand.
In React you get two different types one that is only available in the context it is being used in and the other is global, which means any part of your web app has access to it.
But before we go into detail about the two different types, what exactly is state in React?
In CSS, state refers to whether an element is being hovered, in focus or active.
Don’t make the mistake and confuse this with React.
State in React is a way of saving data within the web app.
If you are fetching data from an external source, you can save this in the state of the app.
So instead of fetching data every time you need it, you can save it in the state and use it throughout your app whenever you need it.
Let’s look at the different types of state.
With React you can have, container state and global state.
Container state is only available in the context of the container and it can’t be accessed by other containers.
Global state, on the other hand, can be accessed and managed by several containers within the app.
Global state is usually managed with the help of another library such as Redux or Saga.
It is important to understand the difference between the two types of state and when to use which one.
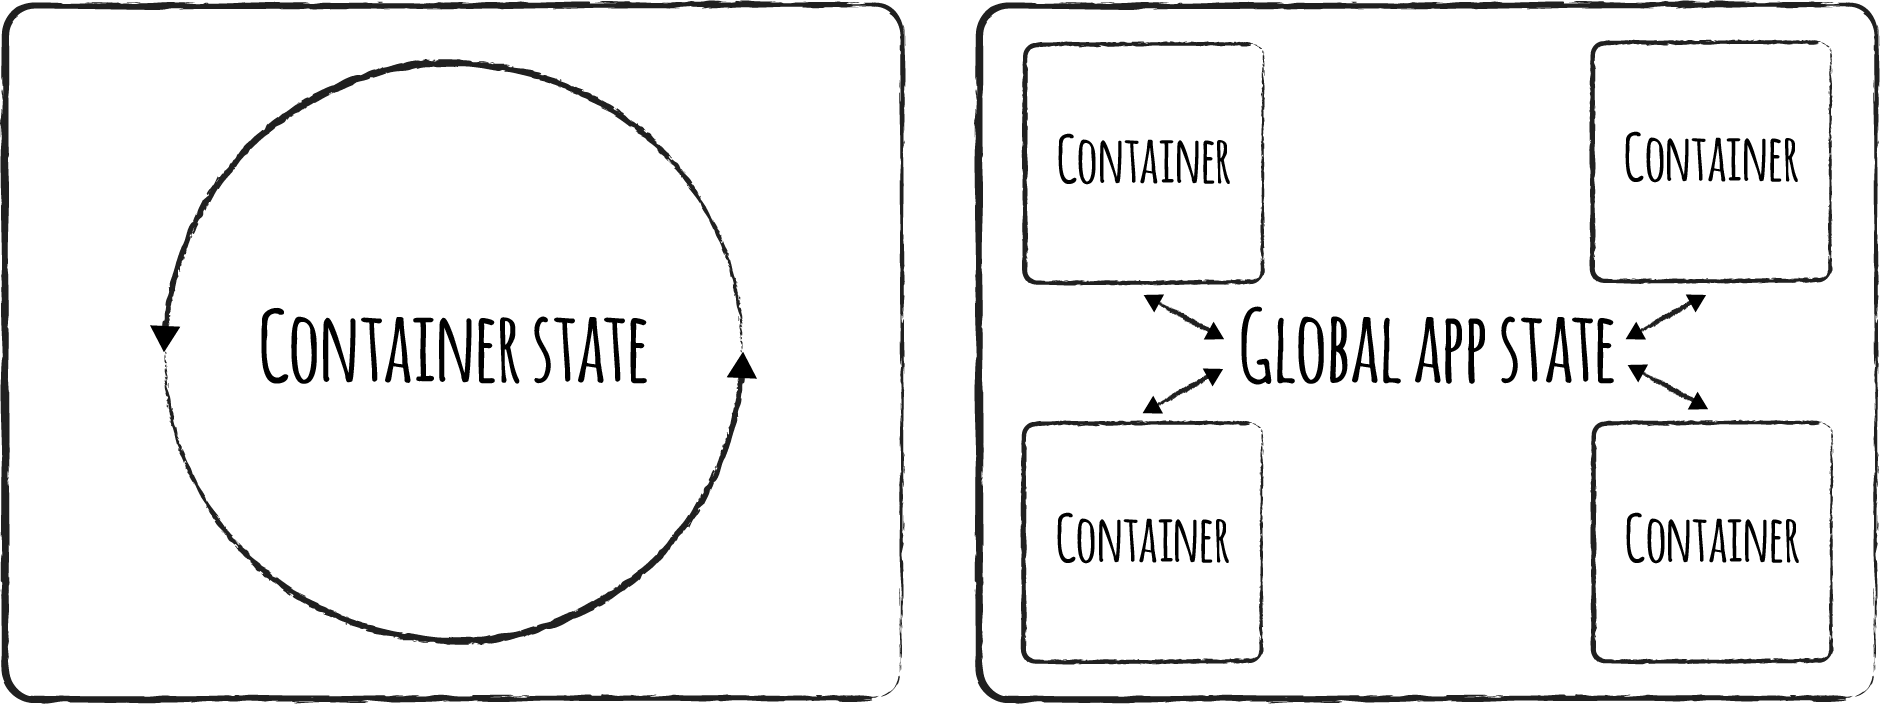
Two types of state in React
If data needs to be shared among different containers then you will need to use the global state, otherwise you can use container state.
What makes state so special?
It is much easier way to manage and share data within your app.
Once you understand it and start using it, you will understand why.
It can take some time to wrap your head around it, so don’t worry if it doesn’t make sense from the beginning.
Containers, functional components and props
We already spoke about containers in the previous section when going through state, but lets go a bit further.
What is the purpose of having containers and components?
The reason for this is to be able to separate the functionality of your app from the look and feel in order to make it easier to manage and maintain.
It also helps when debugging your web app.
A container will have all the functionality and state (if it needs it) for the components it is rendering.
A functional component will only render what the user sees, it shouldn’t have any functionality or state.
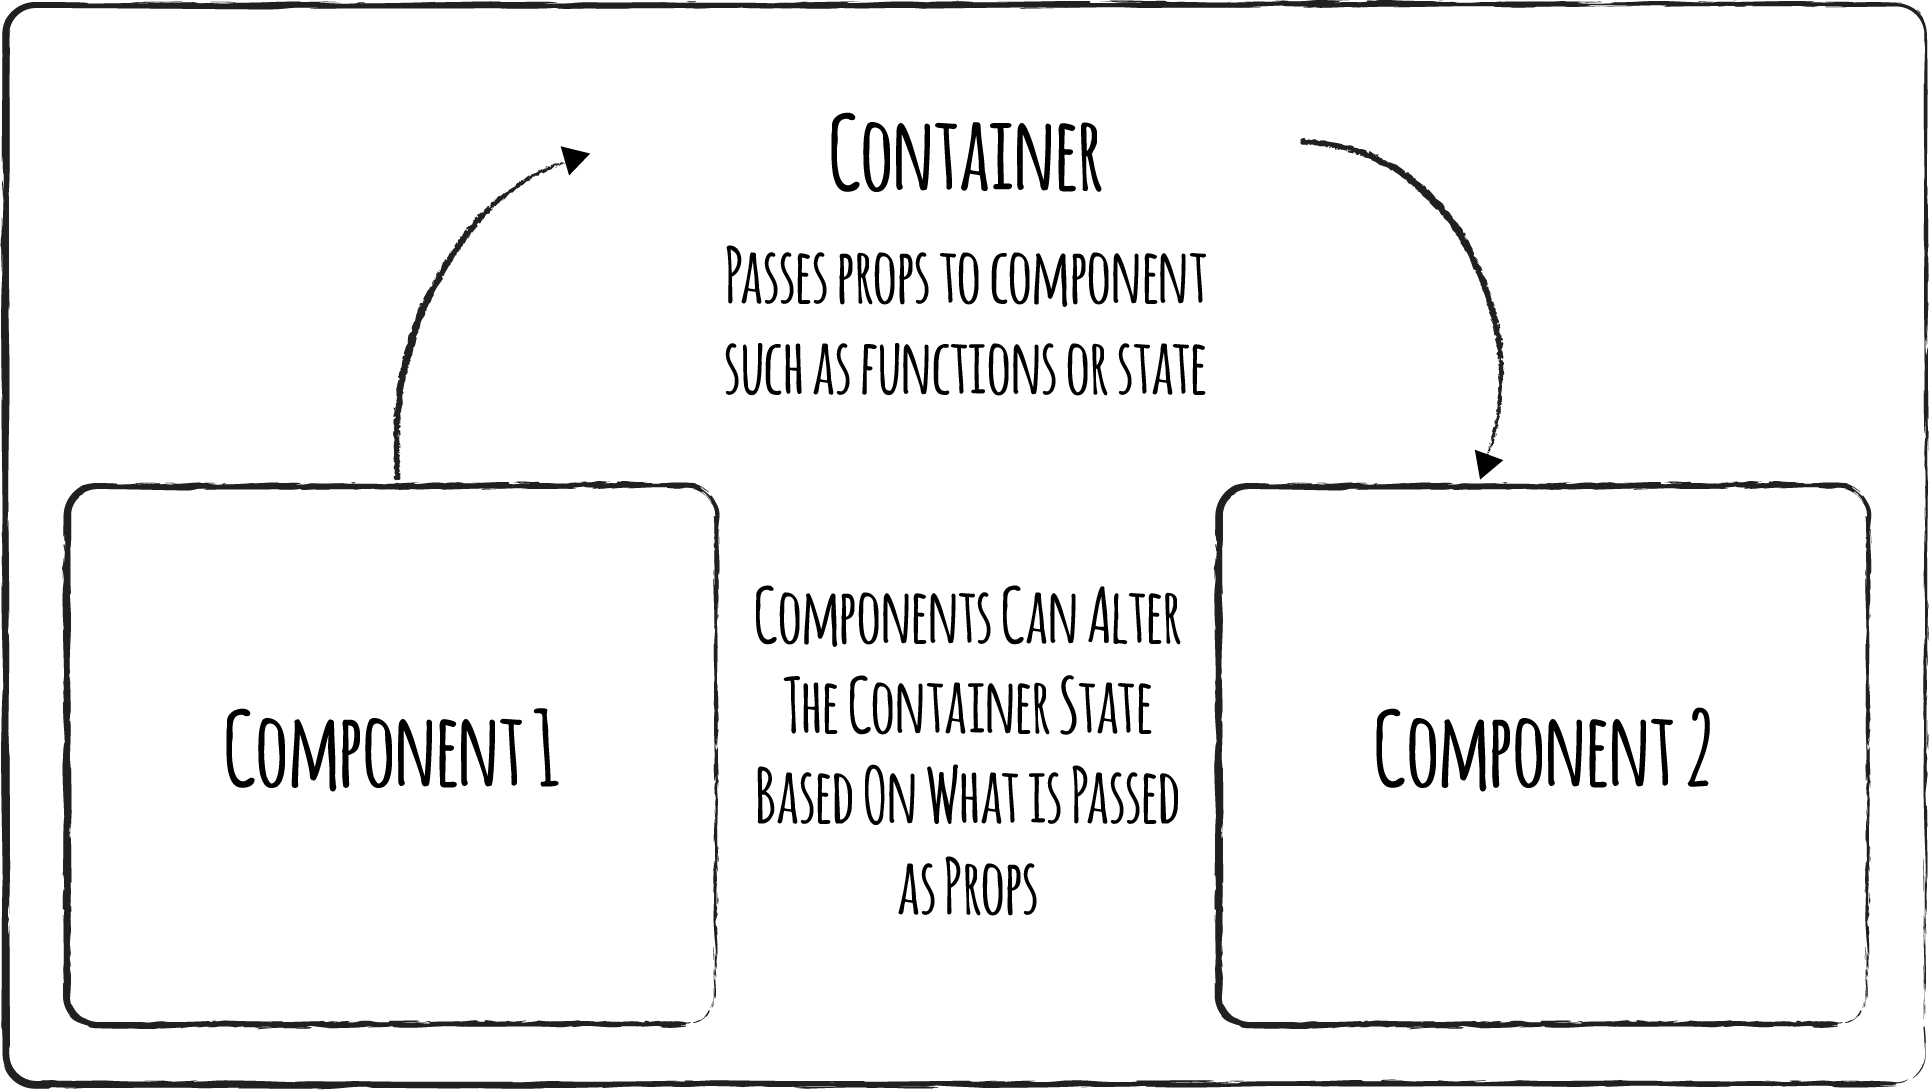
Why create components then?
Components are useful because they are reusable, which means you don’t need to recreate common elements such as a navbar or footer.
It is unlikely that a component will just render static content, which means it will need to know about changes that are happening within the app.
That is where props come into play.
Props are similar to attribute tags, except you have the freedom of naming them and passing anything you want.
In the example below I am passing a data object as well as a function to a navbar component.
<Navbar data={data} filterData={this.filterData} />
Deploying a React web app
Taking your React web app live, can be a little tricky, especially if you are not familiar with deploying.
Besides WordPress, the only other way I knew of taking something live was by uploading using FTP.
Things have changed since FTP, there are much better ways of going live, especially when it comes to web apps.
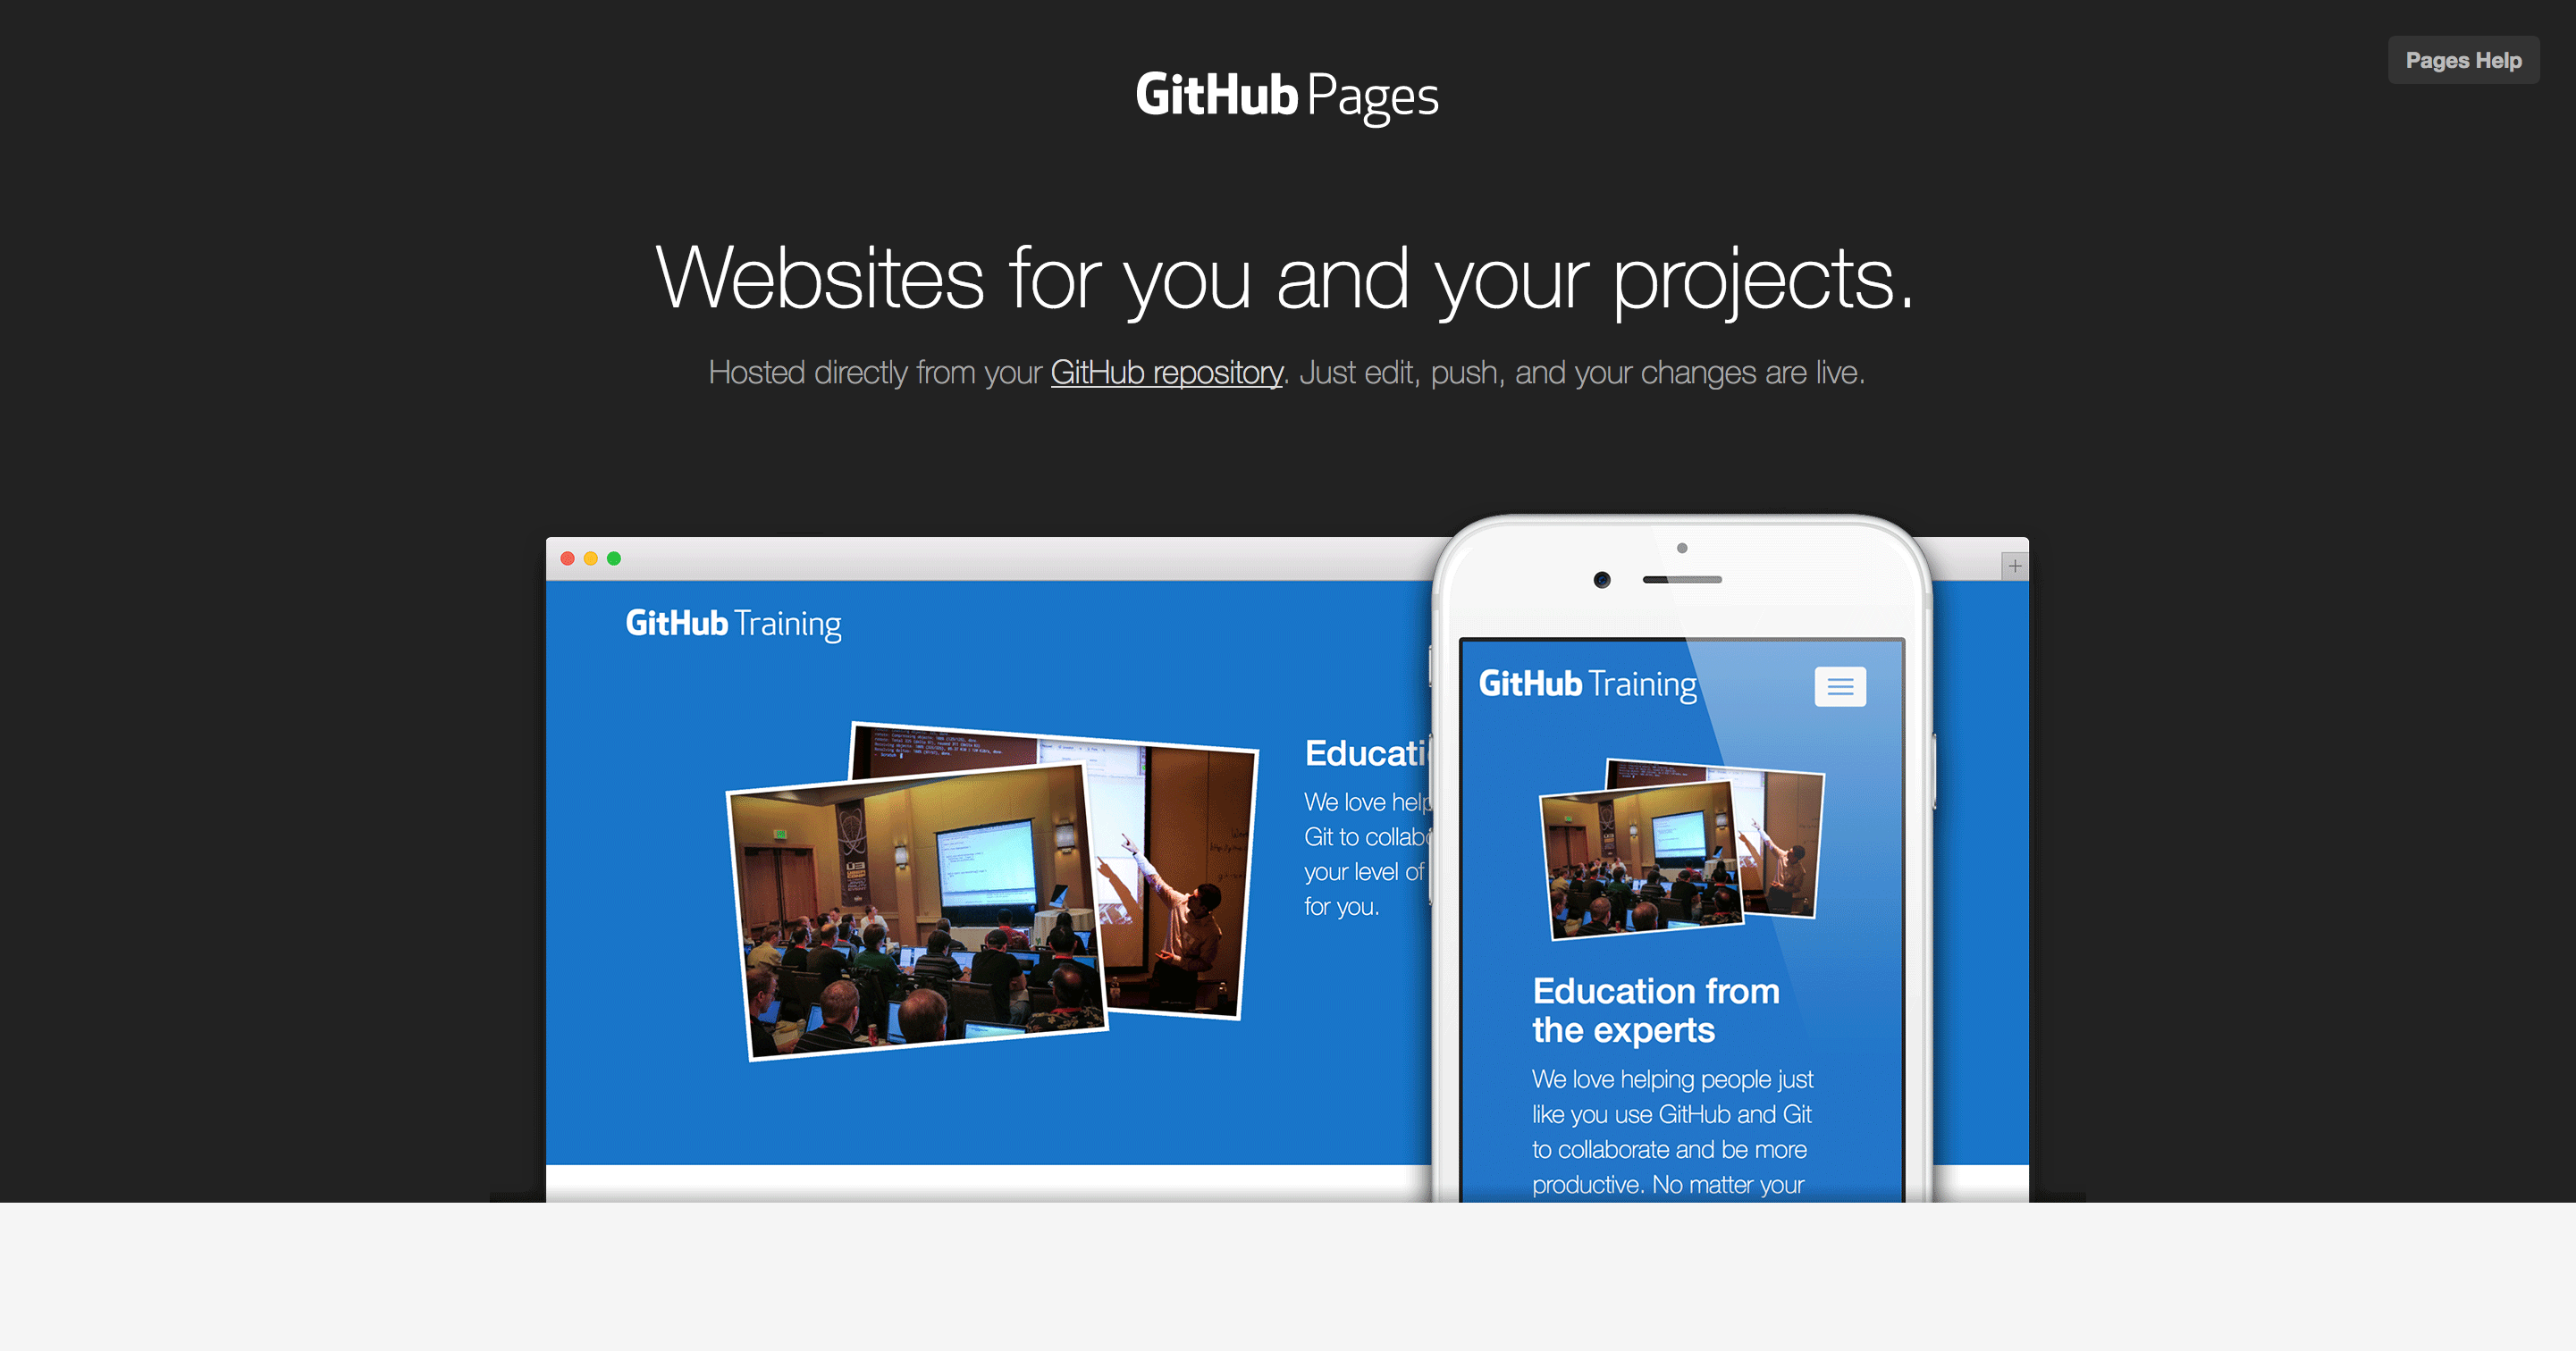
If you are using GitHub, you can use their GitHub Pages service.
All you need to do to deploy is the run the following commands in your GitHub directory.
git add build && git commit -m “GitHub Pages commit”
git subtree push –prefix build origin gh-pages
If you are using a different folder name for your production build, you will need to change the prefix in the second command.
--prefix build (the production build folder)
One of the biggest benefits of using GitHub Pages is that everything is in one place, which makes it easier to manage.
If you are only looking at deploying your web app with nothing else, this is a perfect and quick solution.
But if you are looking for a service that offers you more options, there is another option called Netlify.
Netlify is an amazing deployment choice and it offers a free option as well that suites most deployment needs.
They support a number of technologies and integrate with other services such as GitHub and a few others.
Setting up the deployment for your React web app is really quick and easy.
For more information you can go to the following blog post, Deploy React Apps in less than 30 Seconds
What have I created using React so far?
Over the past two years, I have created and deployed two React projects and I am current busy on my third.
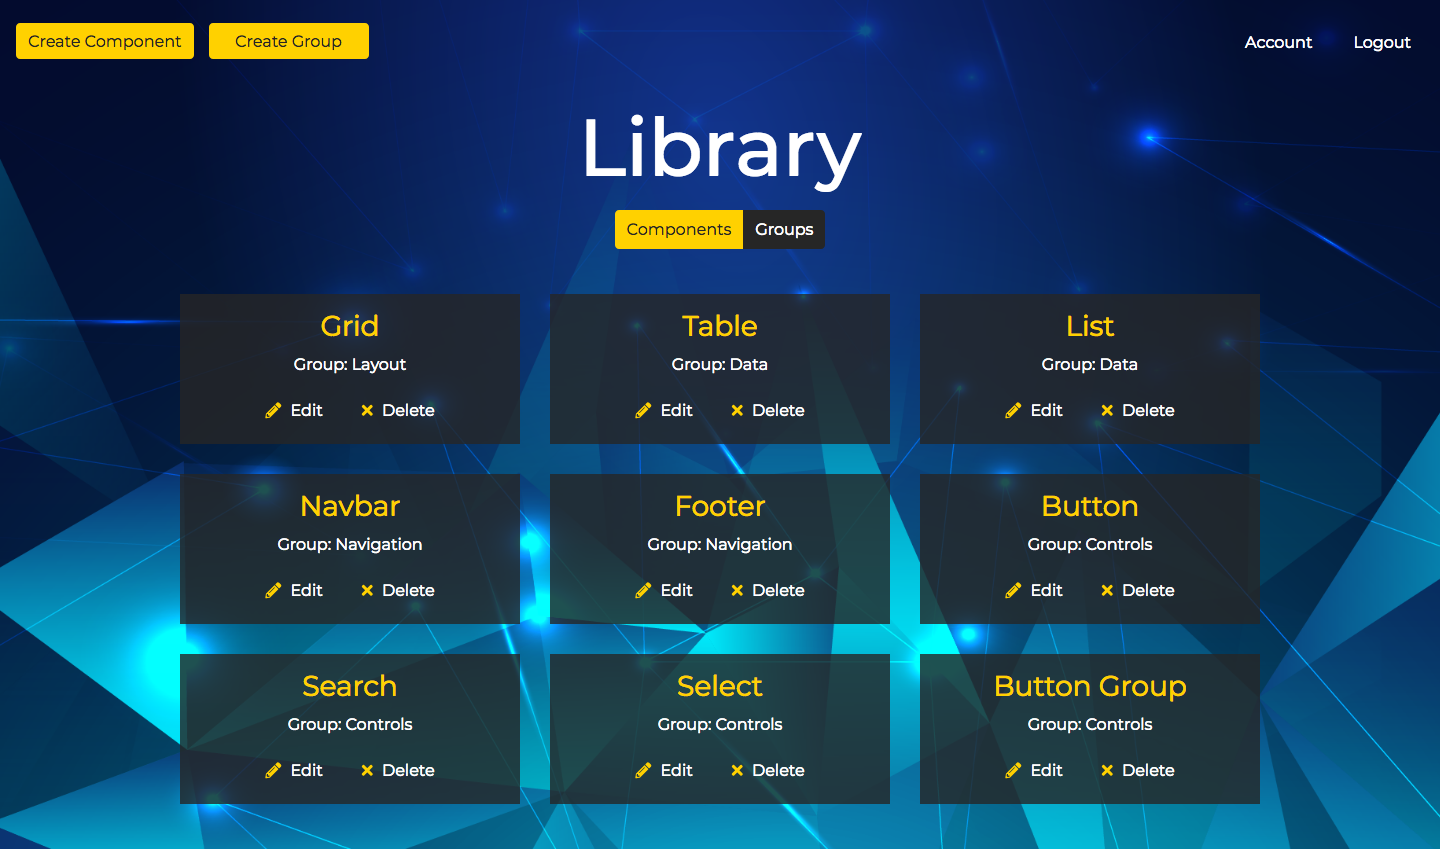
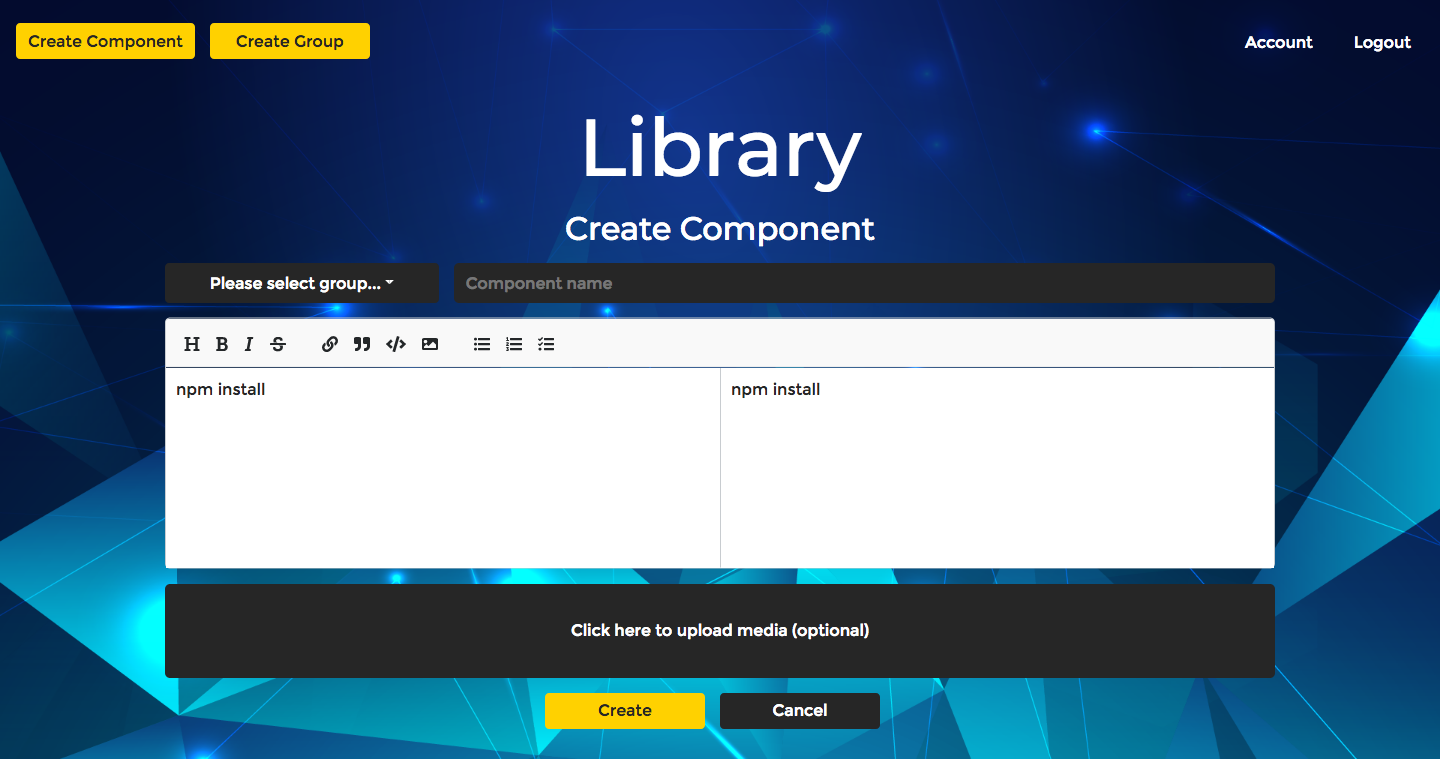
My first project was a component library for React.
While learning React, I started creating reusable components and wanted to showcase them in a library as well as give examples on how to use them.

React Component Library
When the component library was finished, I wanted to create something that made it easier to manage the content.
Which meant my next project would be a content management system for the library I had created.
Because there was a lot more involved in this project it offered me the perfect opportunity to integrate other technologies and services such as serverless and Amazon Web Services.

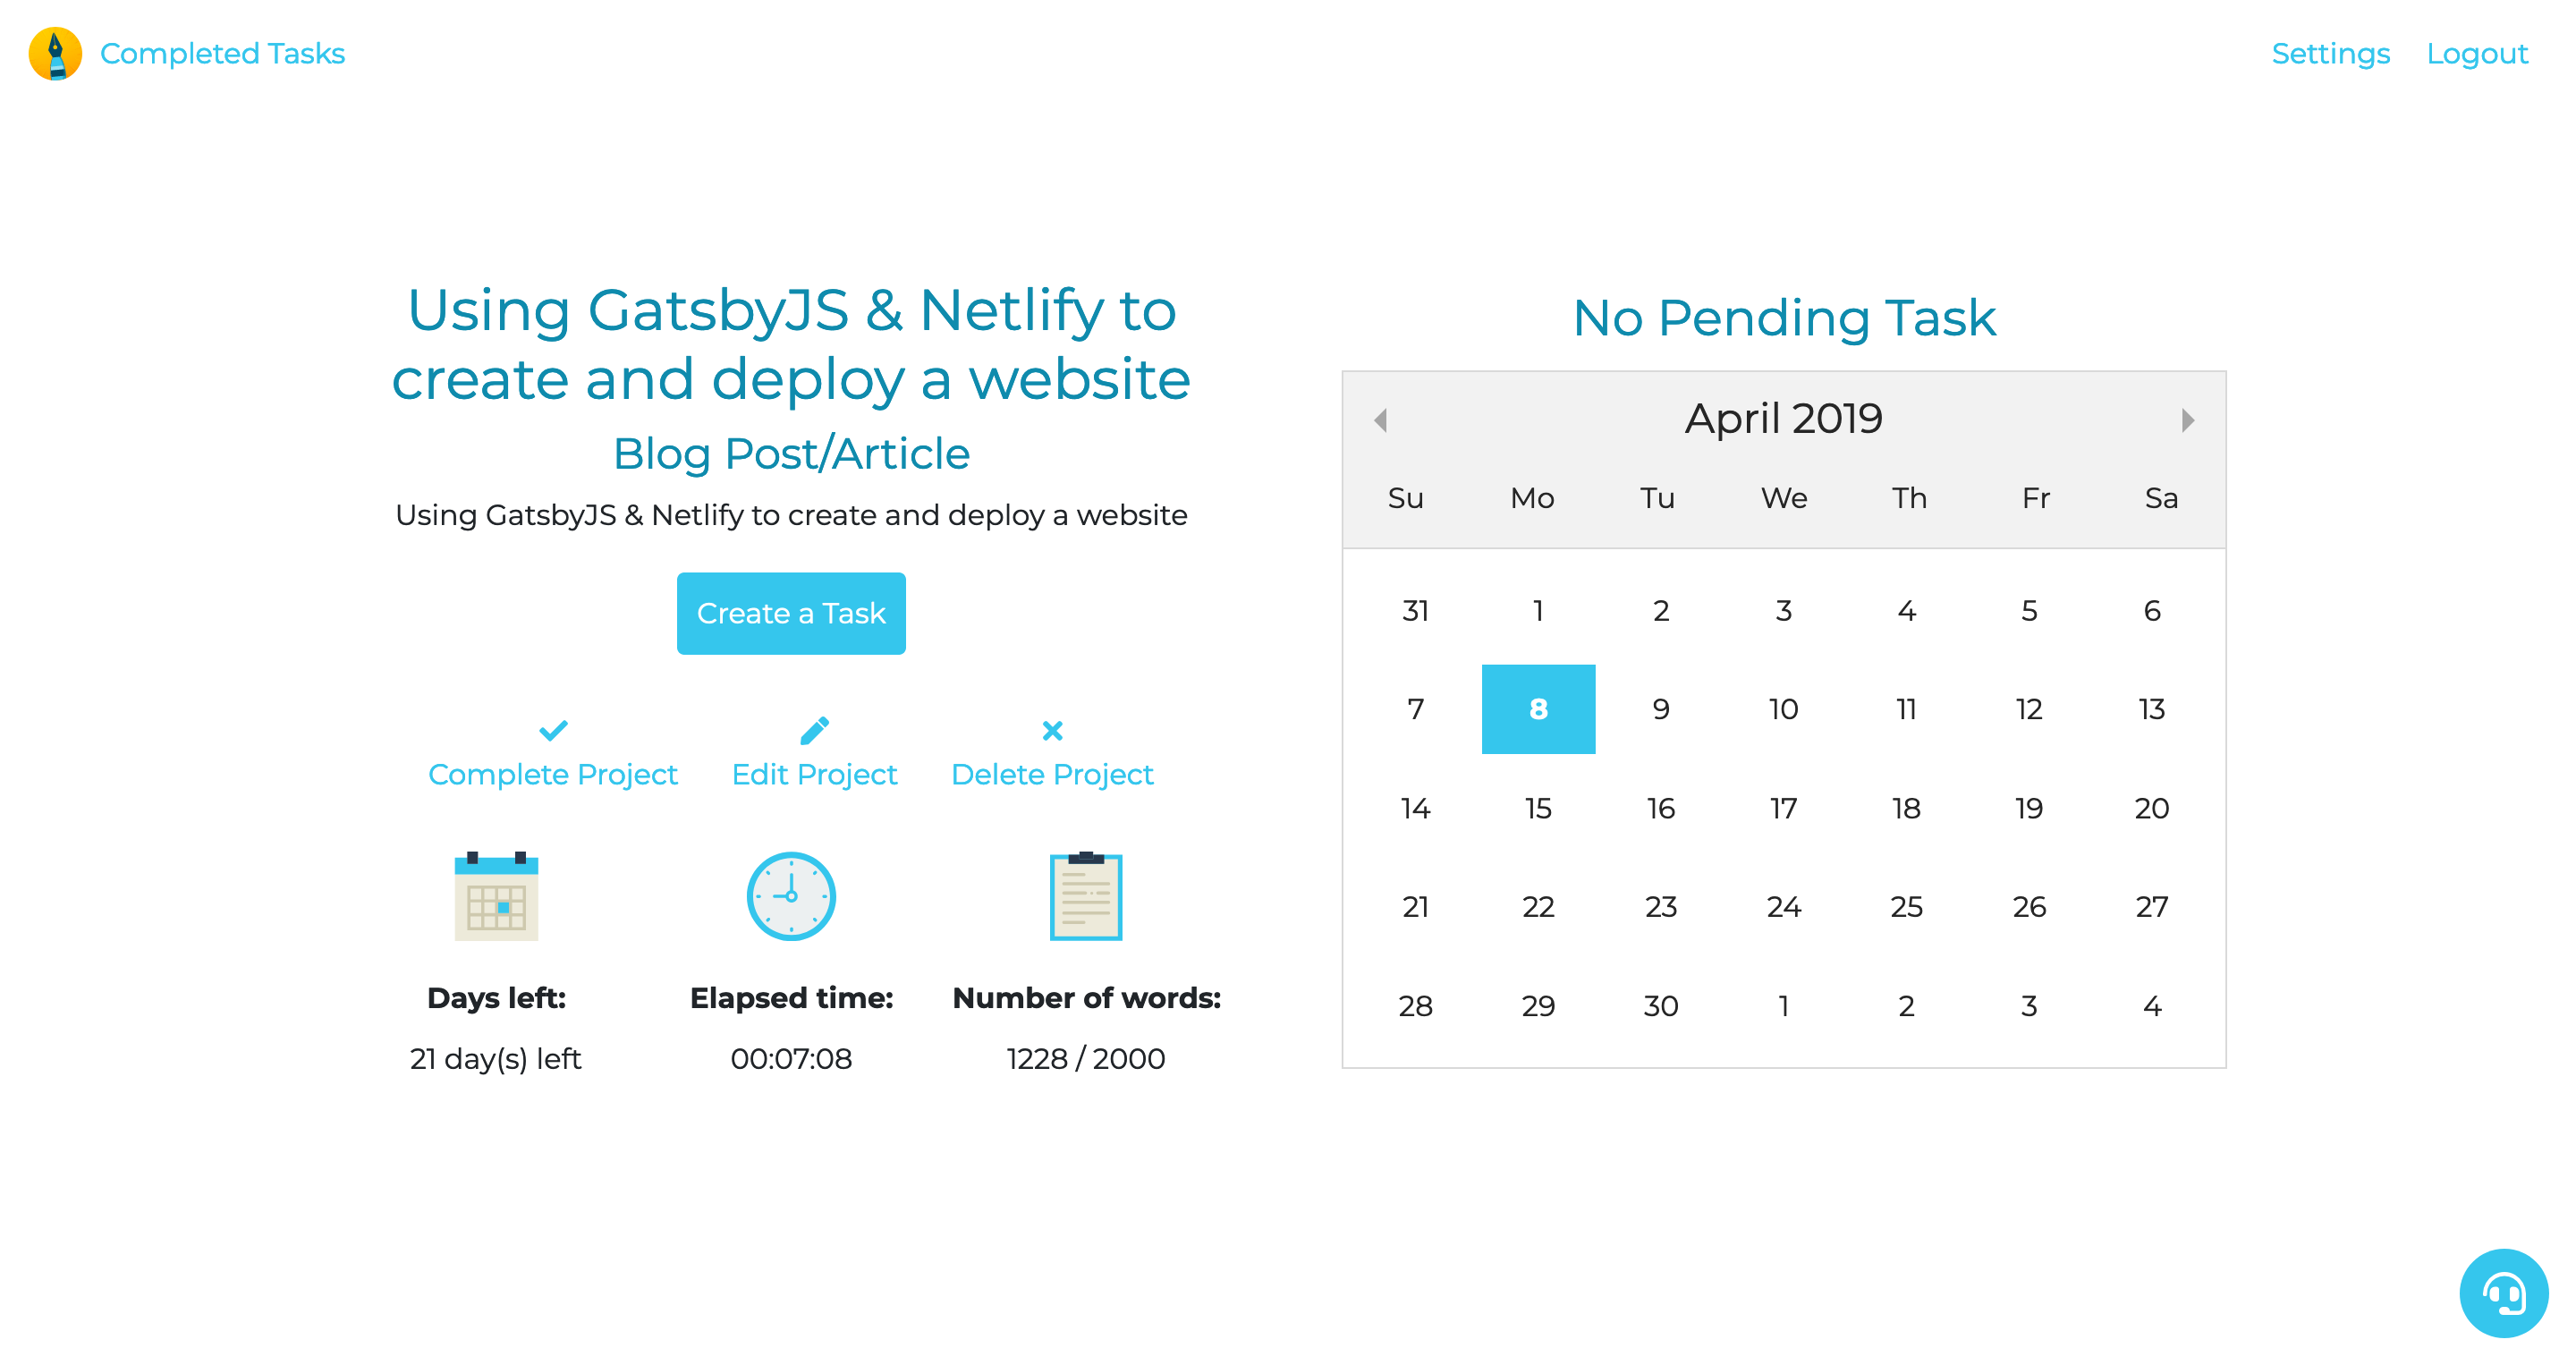
With everything I learned from these projects, I started working on my next React web app.
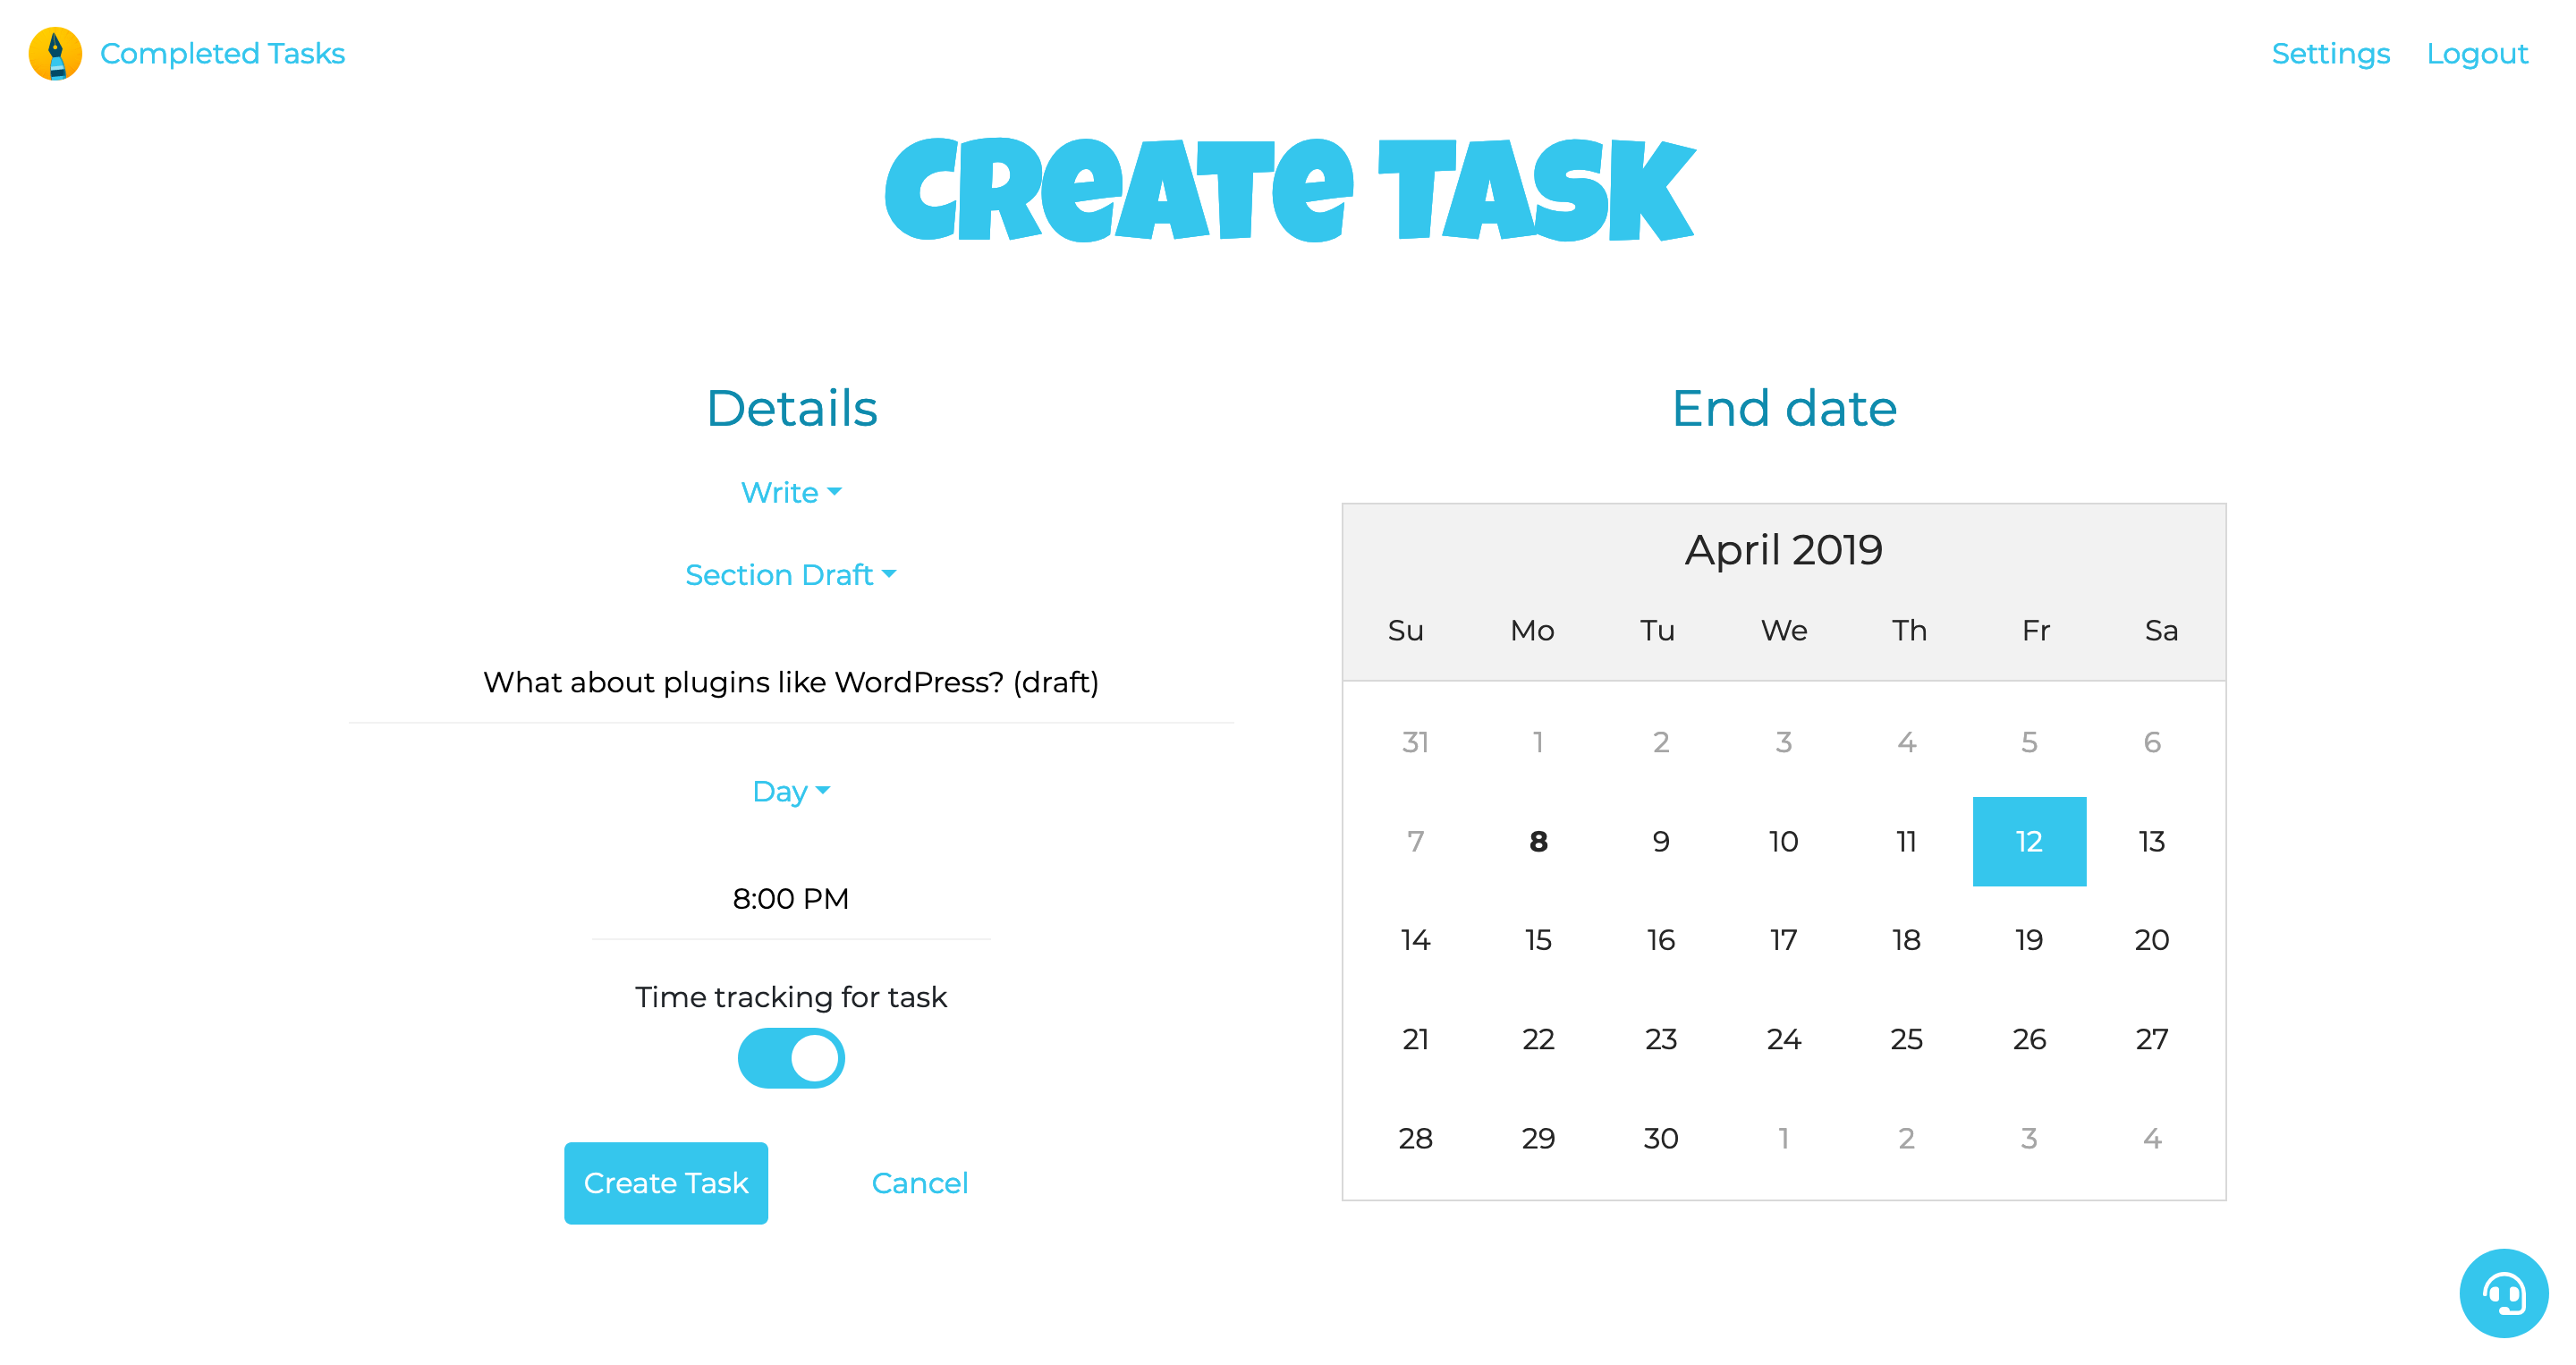
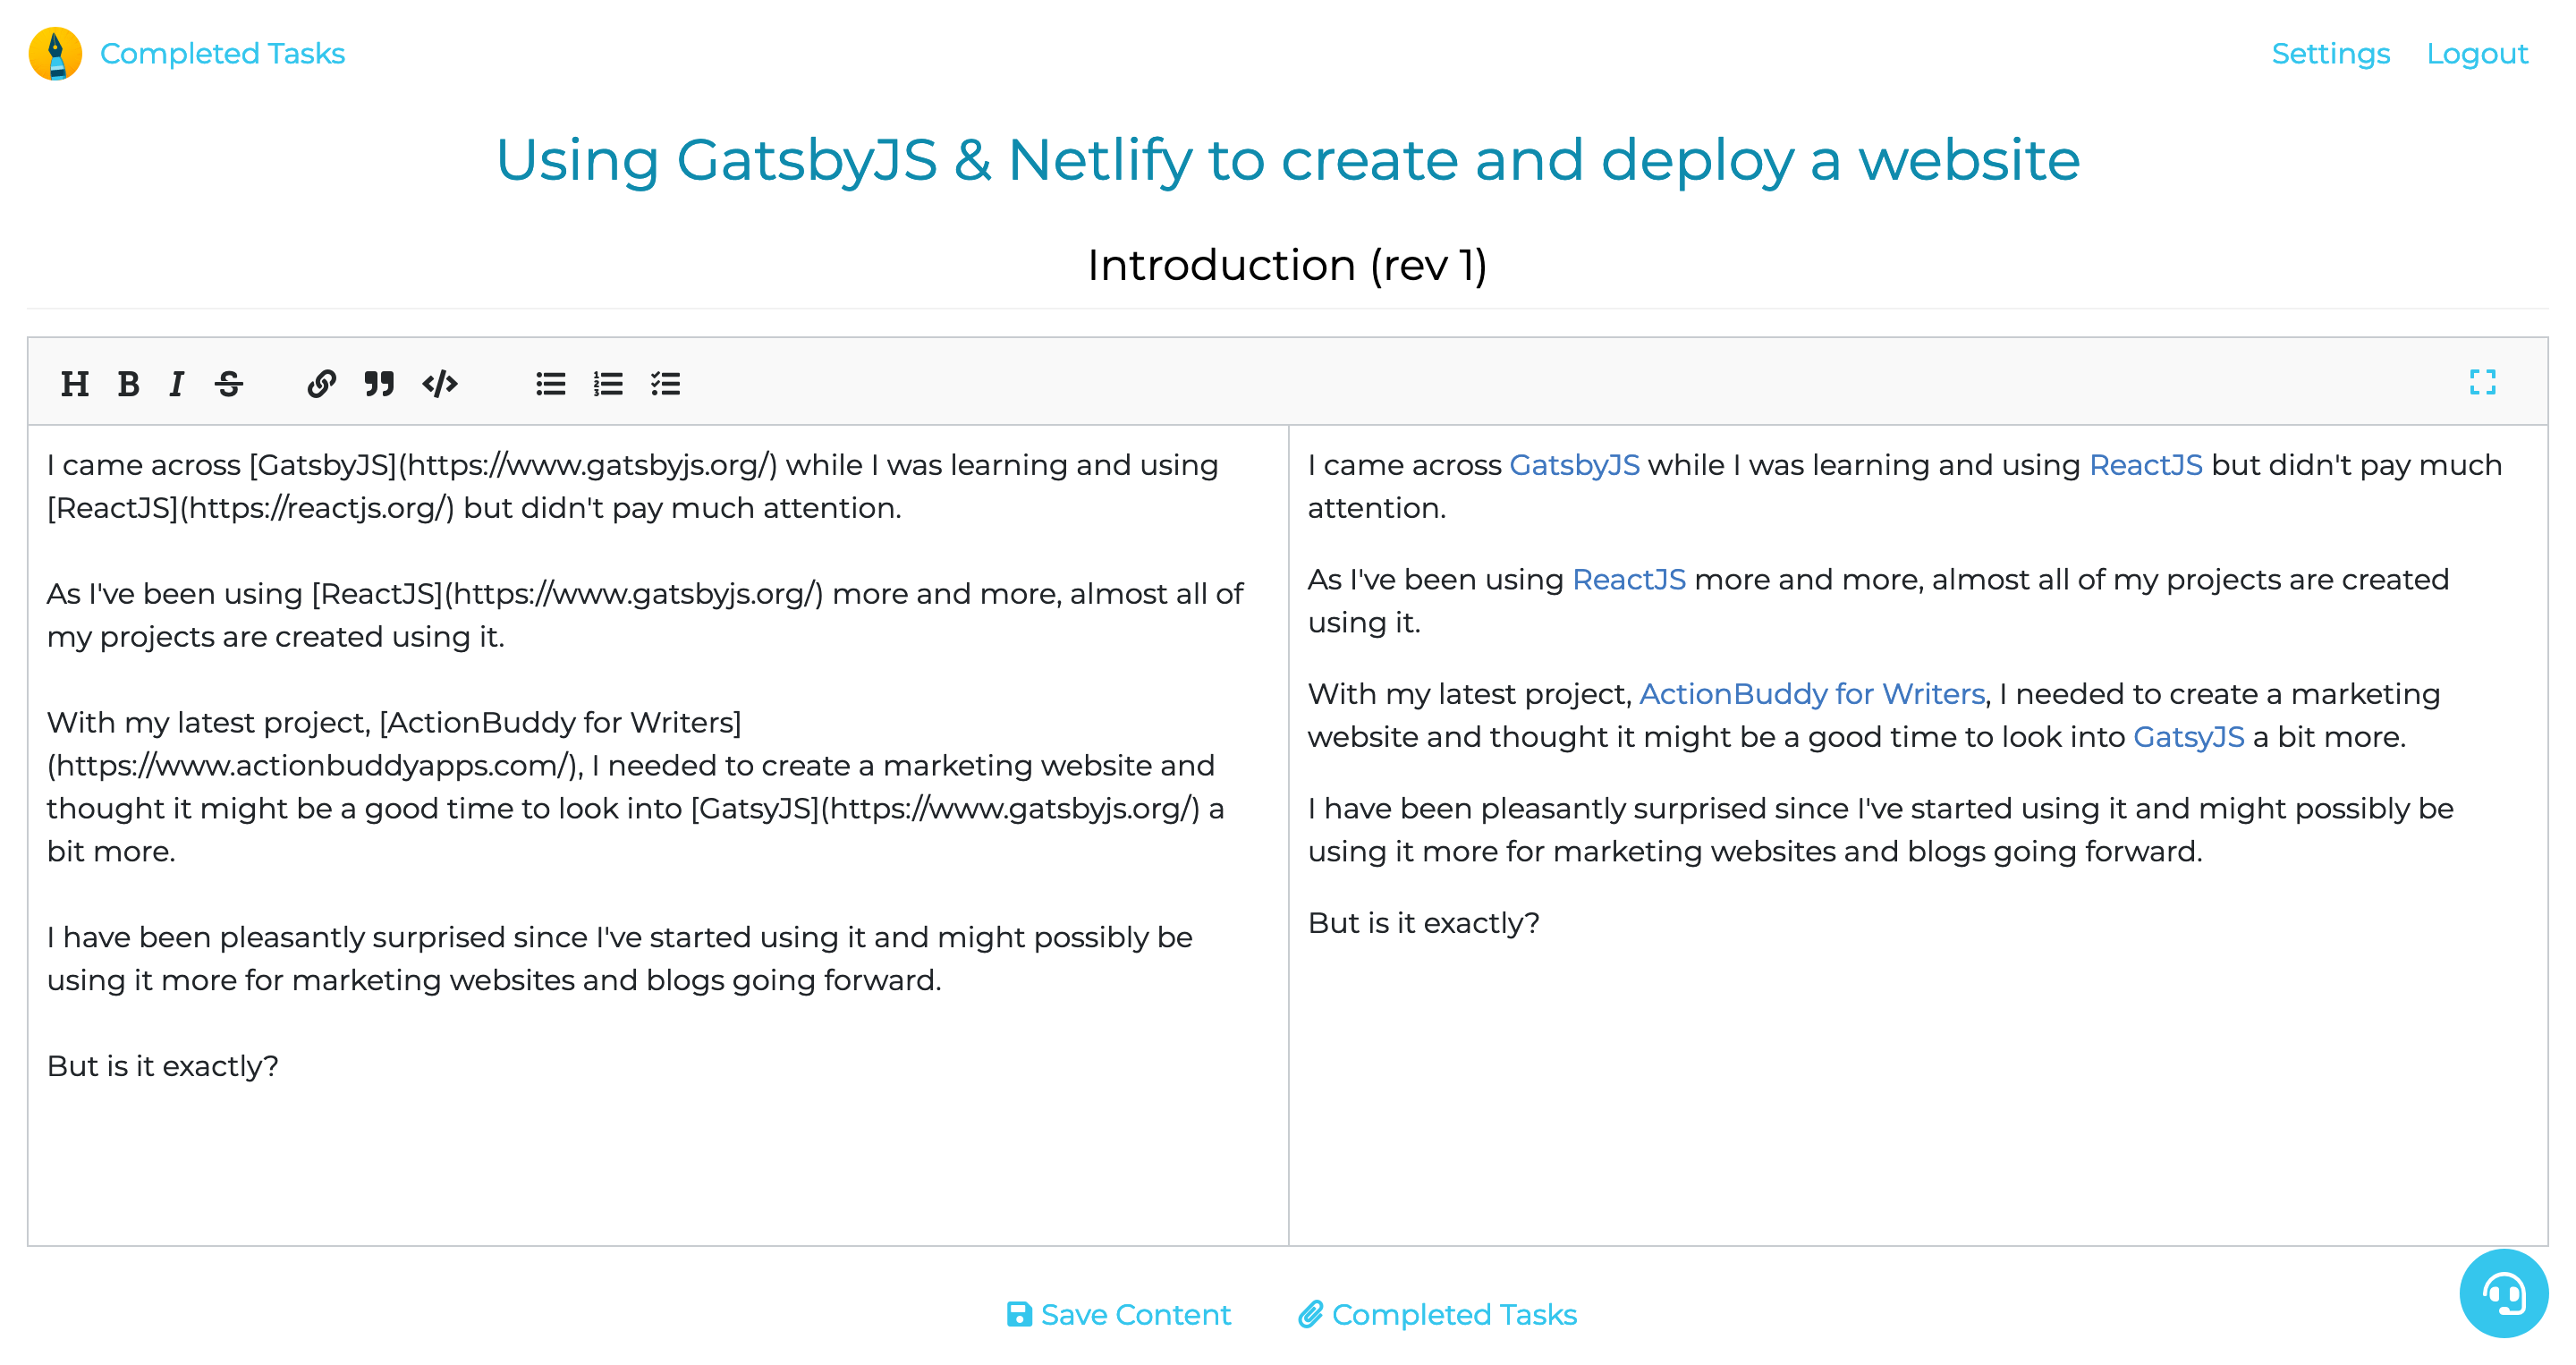
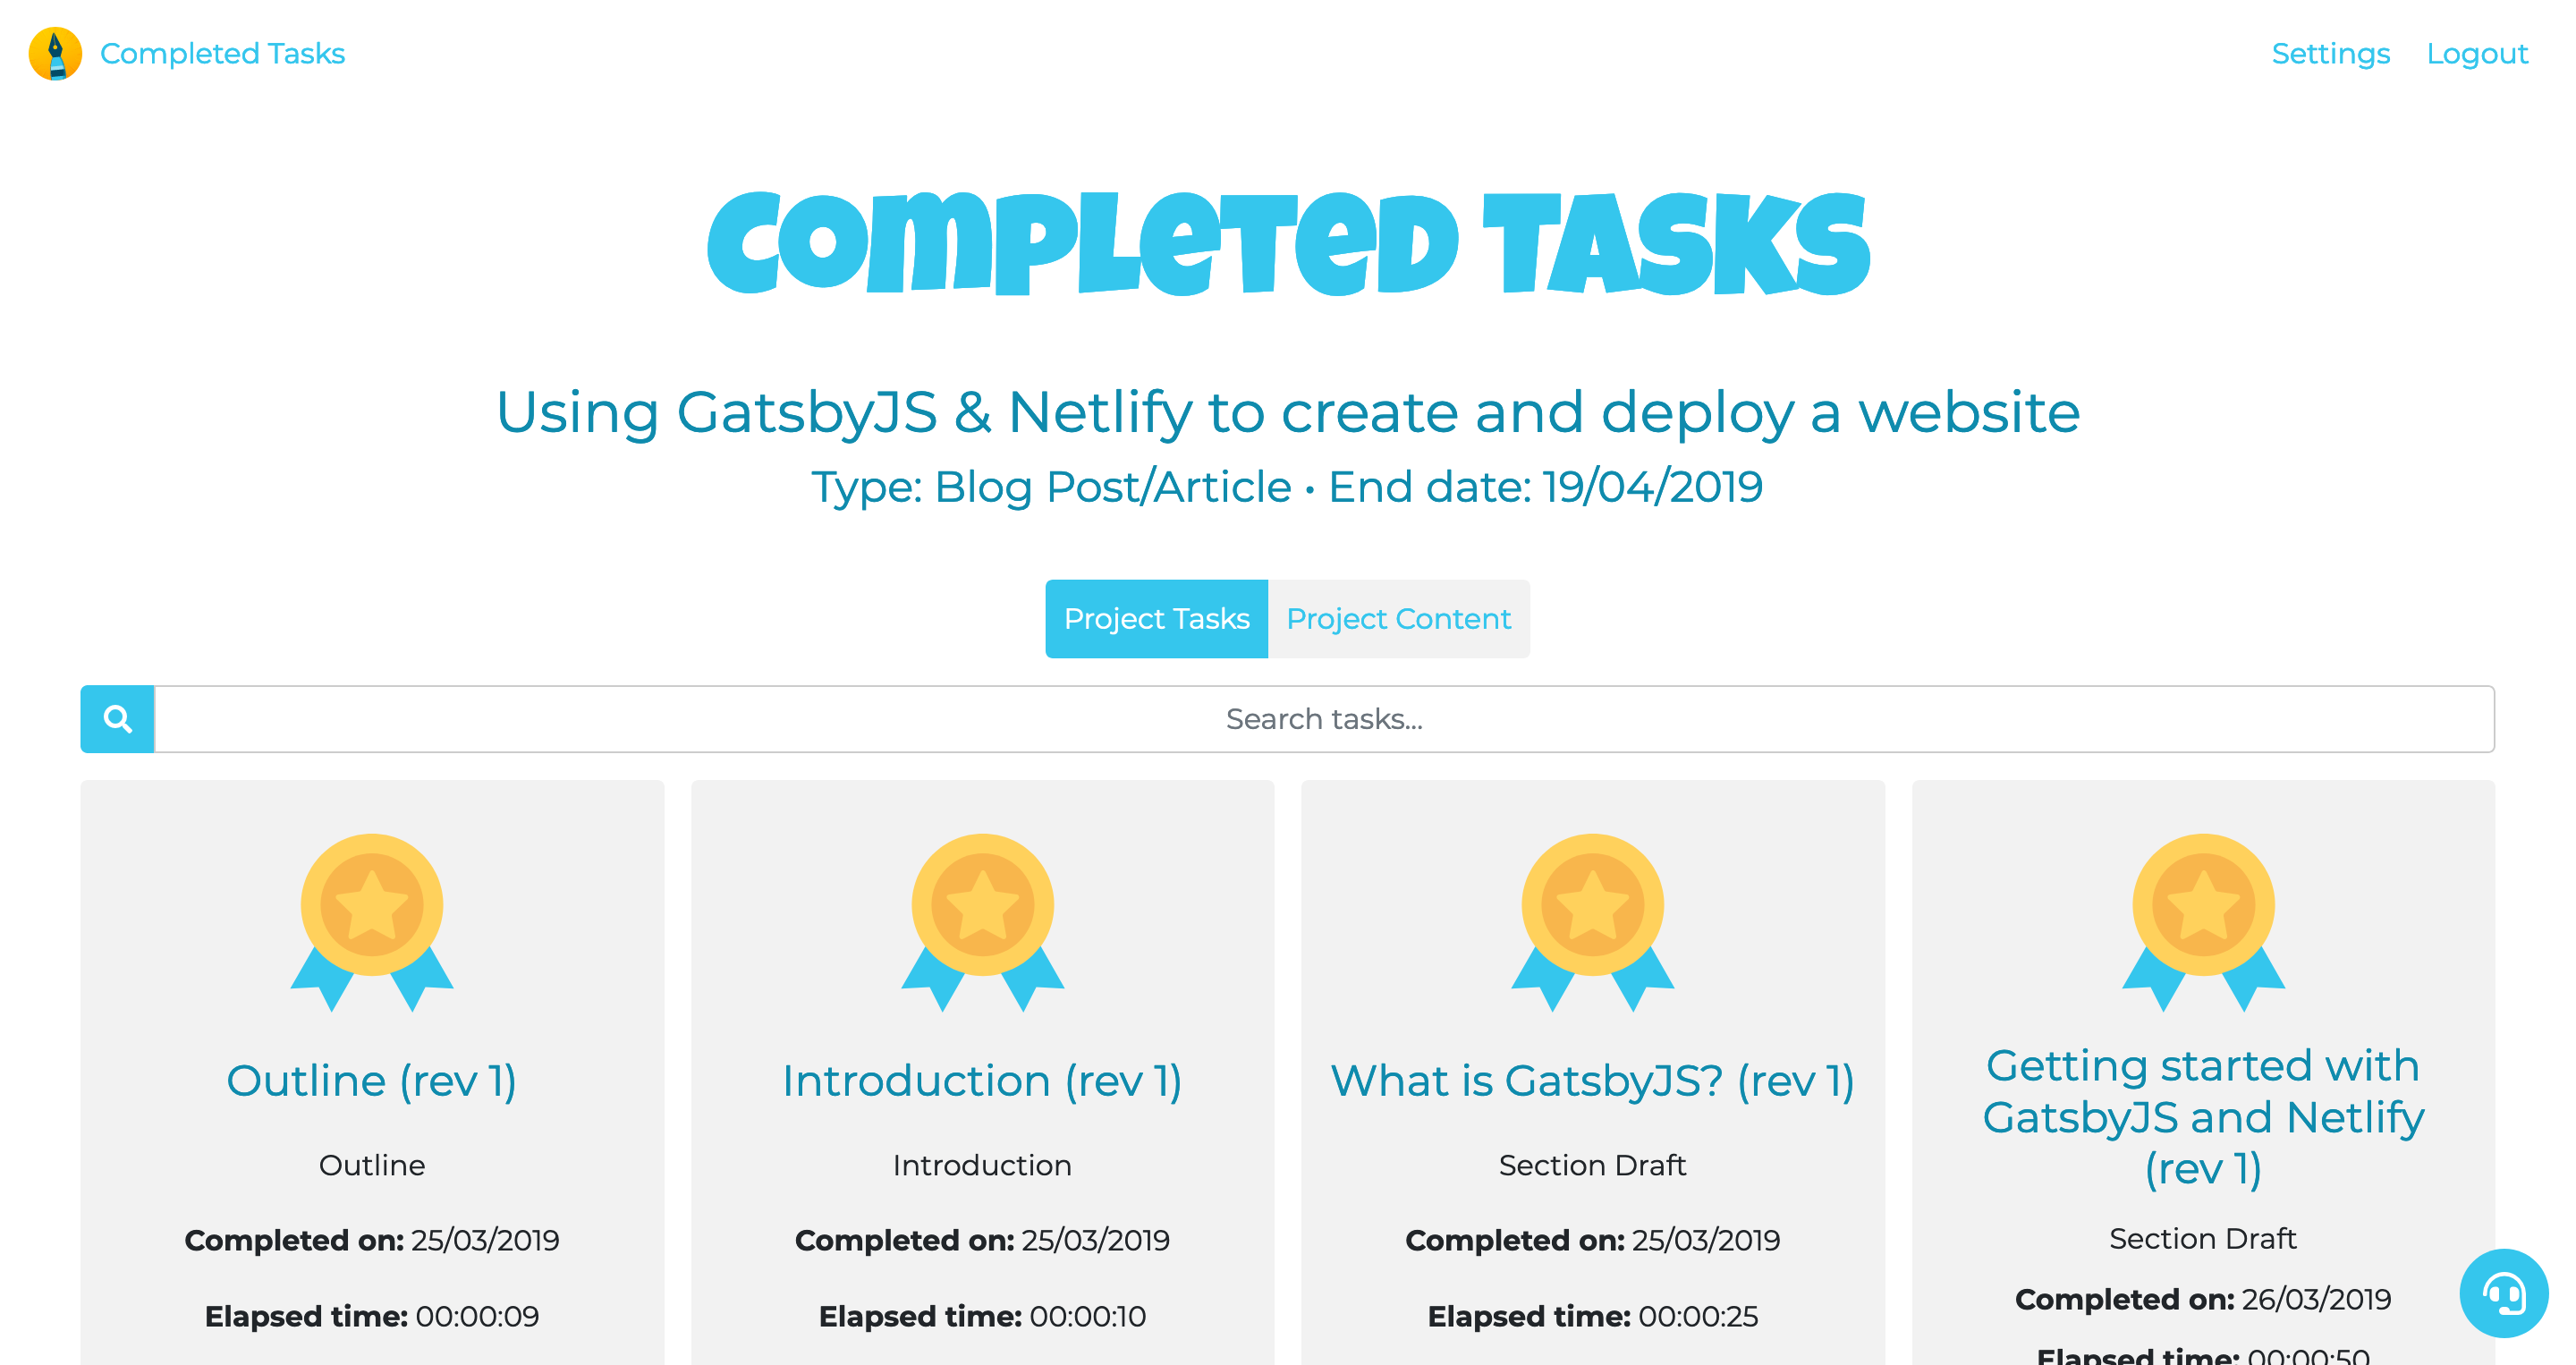
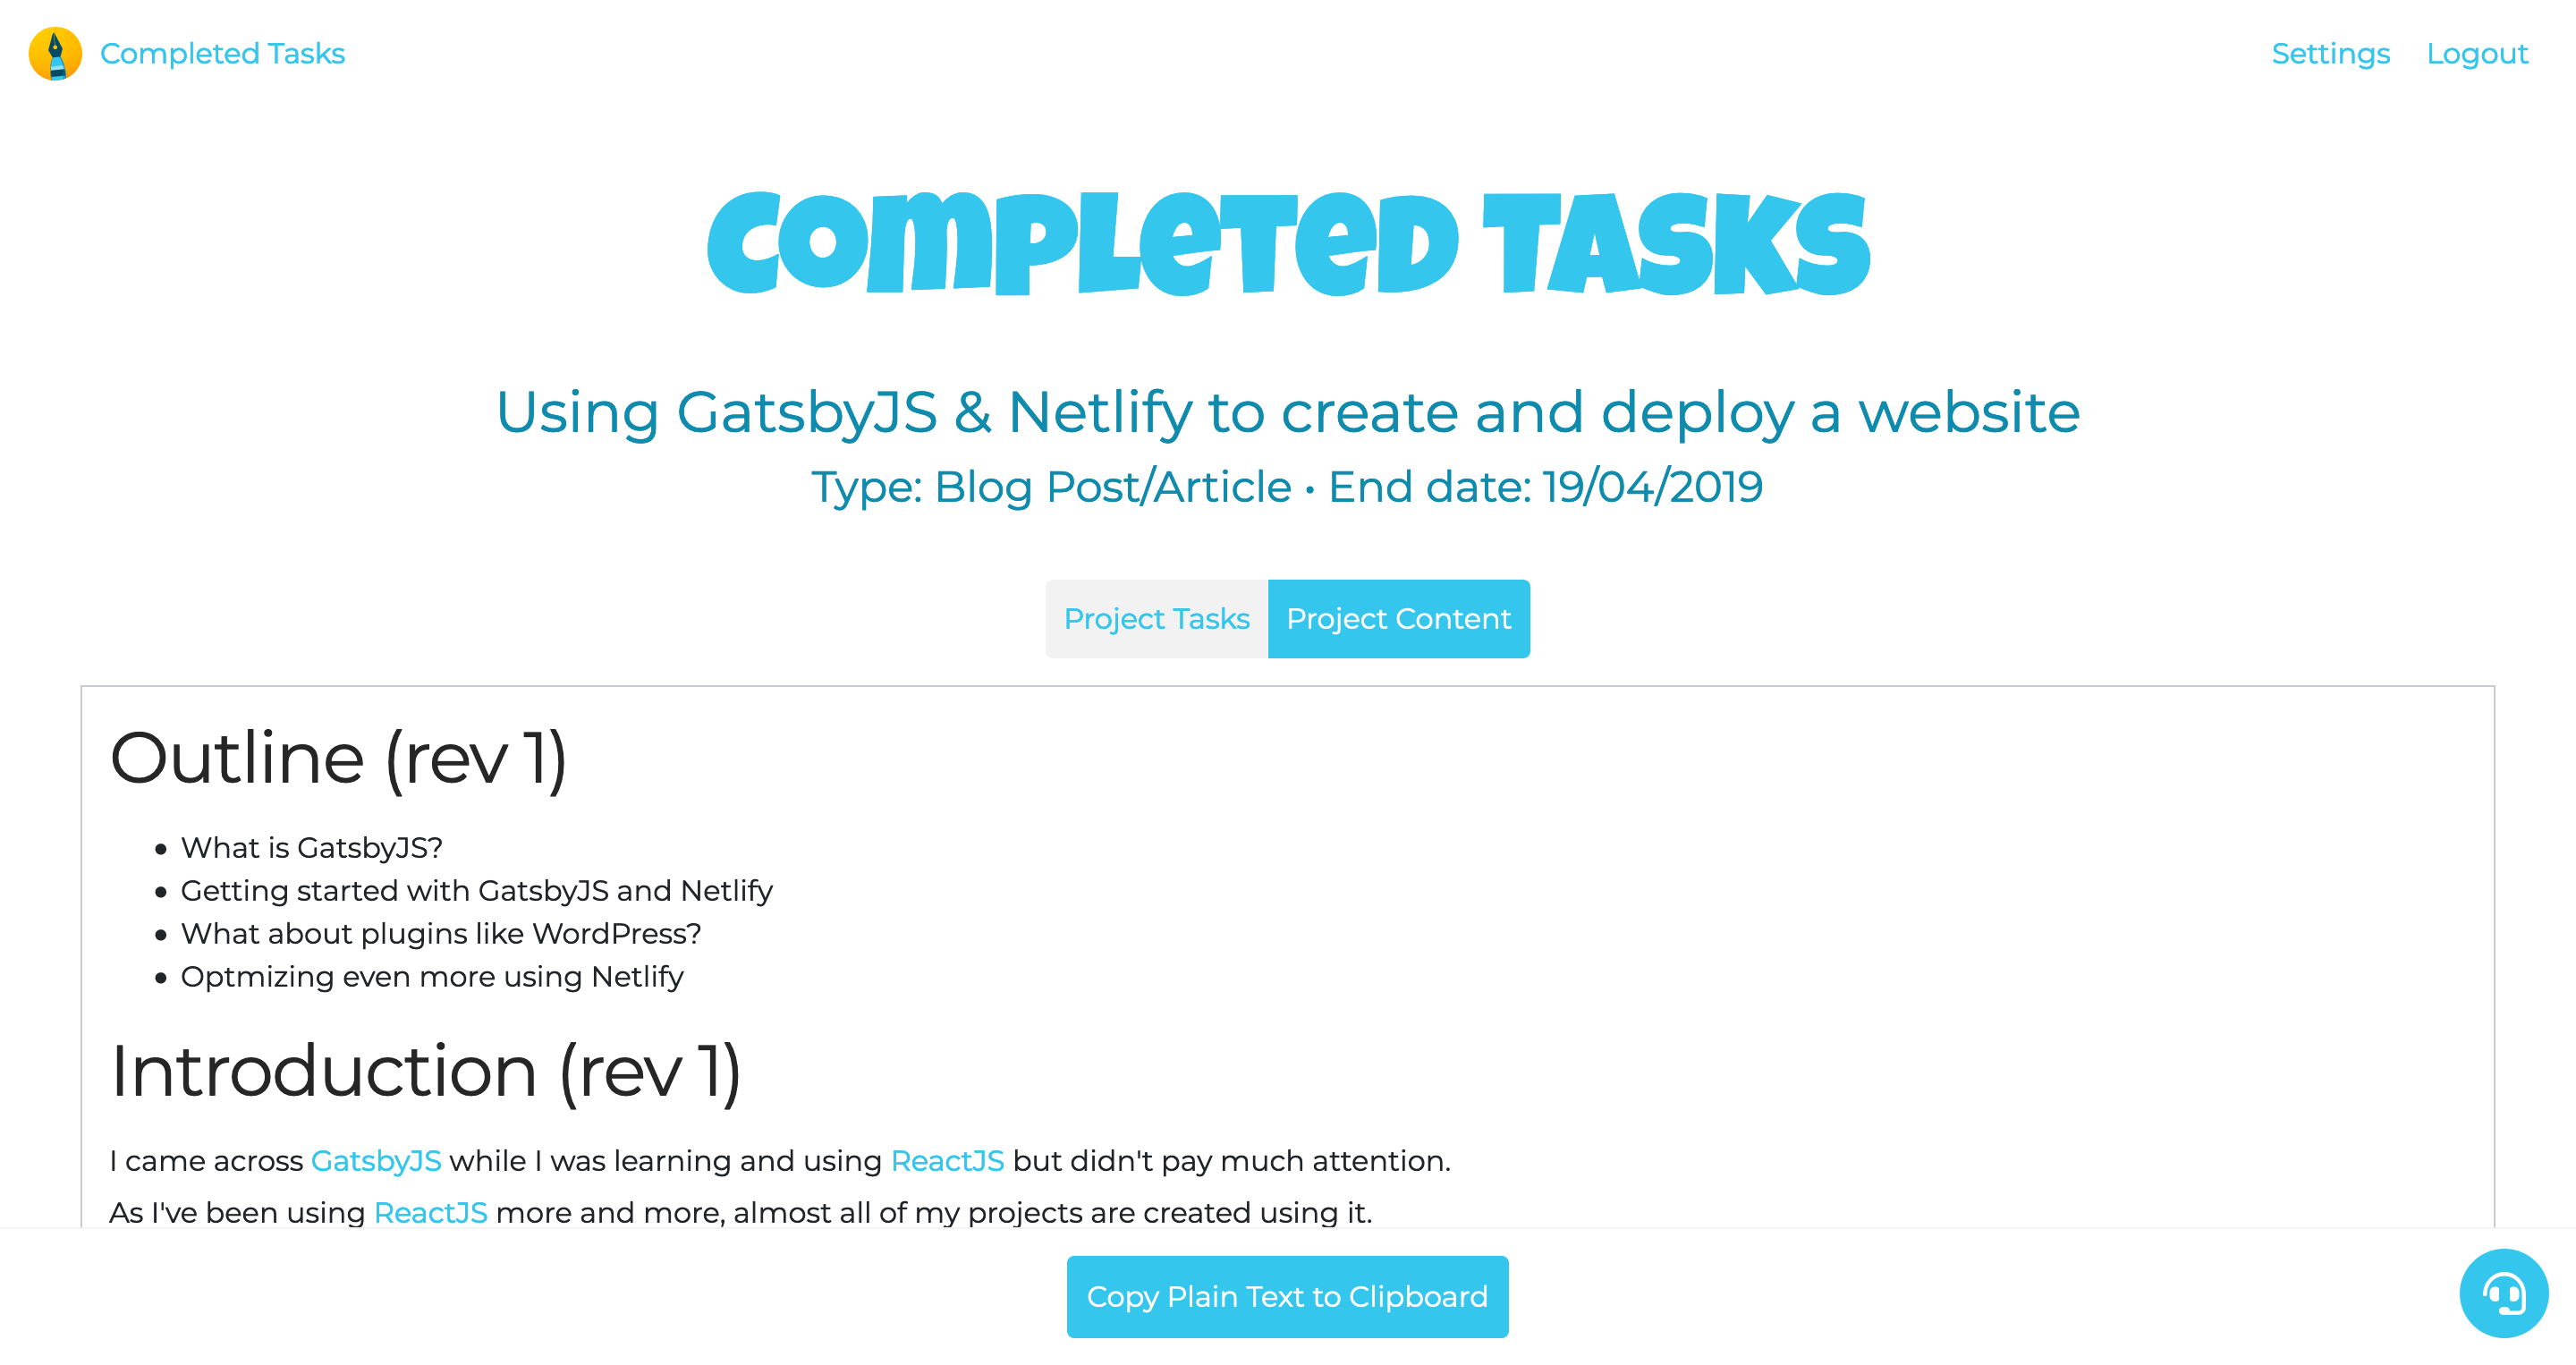
It is called ActionBuddy for Writers and will help writers stay motivated to get their writing projects finished.
I hope you enjoyed reading about my journey with React and learned something along the way.
If you have any comments, please let me know below.