WTF Is GitHub and How Does It Work?
Table of Contents
As a web designer or front-end developer, you might come across Git or GitHub as a job requirement.
If you haven’t used it before it can be quite confusing.
It took me a lot of Googling and asking for help before I could use Git comfortably.
And for that reason I wanted to create a getting started post for anyone that needs to use Git but doesn’t have the time to read volumes of documentation.
So WTF is Git & GitHub and do you need to learn it?
Git is a service and GitHub is a website that offers the service through a web interface.
What type of service is Git then?
Git is used for version controlling code and a lot more.
If you are web designer or front-end developer you may have already used other version control tools such CVS, SVN, Mercurial, etc.
Many of these tools have a user interface which makes them easier to use and understand.
If you’ve Googled Git, you might have found a few posts from StackOverflow that use commands via the terminal which can be overwhelming especially if you’re not familiar with the terminal.
Once you understand how Git commands work, you’ll never go back and you’ll realize why Git is the most popular service used by developers and designers.
When I say most popular I am not joking, on the GitHub website it says…
[bctt tweet=“More than 1.8 million* businesses and organizations use GitHub” username=“github”]
There are a number of applications available that allow you to use Git without the command line.
With that being said, it is better to start with the terminal commands before using an application.
Why you might ask?
Using the commands will give you a better understanding of what is going on behind the scenes and how Git works.
Create GitHub account
Before you move on make sure you have created a GitHub account.
If you’re getting started you can create a free account here.
What is a Git repository?
Before we move onto the terminal there are a few terms you need to understand when working with Git.
Git saves all your source code in a repo, which is like a folder on their server which you can download and save changes to.
Depending on your account, you can either create public or private repos the latter is only available with a pro account.
The difference is as the names suggest, a public repo can be accessed and seen by anybody while a private one is limited to only you or anyone you invite
You will also need to make sure Git is installed on your computer.
Installing Git
Mac
If you’ve installed Xcode, Git will be available via the terminal.
If you don’t you can download the installer here and follow the prompts.
Windows
You can download the installer here.
Note sure if you have it installed?
A quick way to see if you have Git installed is running the following command in your terminal or the command prompt on Windows.
git –version
Creating a repo
Let’s create our first repo.
Click on the New Repository button in the navbar.

Create new repo
Give your repo a name and a description.
Depending on your account you can either create public or private repo.
For now you don’t need to enable the Initialize this repository with a README as you can do this later.
For the .gitignore and license options you can use the defaults.

New repo details
Click the Create repository button.
You can now save your source code in this repo from your computer.
Saving your source code
Go to the folder that has the source code for your repo via the terminal.
If you’re not sure how to get to your source code folder you can use the following for reference:
Using command prompt on Windows
Once you are in your source code folder, you can start by running the following command.
git init
This command creates a .git folder inside your source code folder which stores all the information for your repo such as commit history and branches.
git add .
This command adds all the files you want to save in your repo.
You can also add individual files if you don’t want to everything by specifying the file.
git add index.html
After you have added your files you will need to commit them with the following command.
git commit -m “Setup commit”
In order for Git to know about the files you just added, you need to add a commit.
Commits are a history of all the changes that were made to the repo.
You might be asking what is the -m “Setup commit”.
That is the message for this commit. It is good practice to add a message for every commit you make that gives a short description of what changes were made.
So far we’ve added our files and committed them but Git doesn’t know where to save our files to.
With the following command you will link your the repo on your computer with the one you created earlier.
git remote add origin https://github.com/username/my-repo.git
Remember to replace username with your own as well as the name of the repo you created.
The only thing left to do is to save our files in the repo we created at GitHub.
You can do this with the following command.
git push -u origin master
Notice we committed and now we are pushing. You always need to commit before pushing.
The -u flag refers to upstream which means any changes we make will be tracked our repo on the GitHub server.
What about origin and master?
Origin tells Git we want to save our files to the repo we linked with the previous command and master refers to the branch which I will talk about in a bit.
What is a .gitignore file?
Sometimes you don’t want to save everything in your source code folder.
With the .gitignore file you create exceptions for your repo.
Anything in this files will be ignored when you run the git status command.
GitHub has a few .gitignore templates you can use, but I find it easier creating my own.
Keep in mind the file needs to start with a . otherwise it won’t work.
If you don’t want Git to track the build folder, then you can add this to your .gitignore file.
/build
Ignoring files is just as easy. If you don’t want Git tracking the .DS_Store files Mac creates automatically, you can add the following.
*.DS_Store
Do I need a license?
A license is not mandotory, but it is recommend to have one if your repo is public and others may end up using it.
Creating a license is easy as GitHub has a number of templates you can use.
To create a license, click on Create new file
Start typing license as the name and you will see a Choose a license template button appears.

Create license file
Click this button to see the different templates.
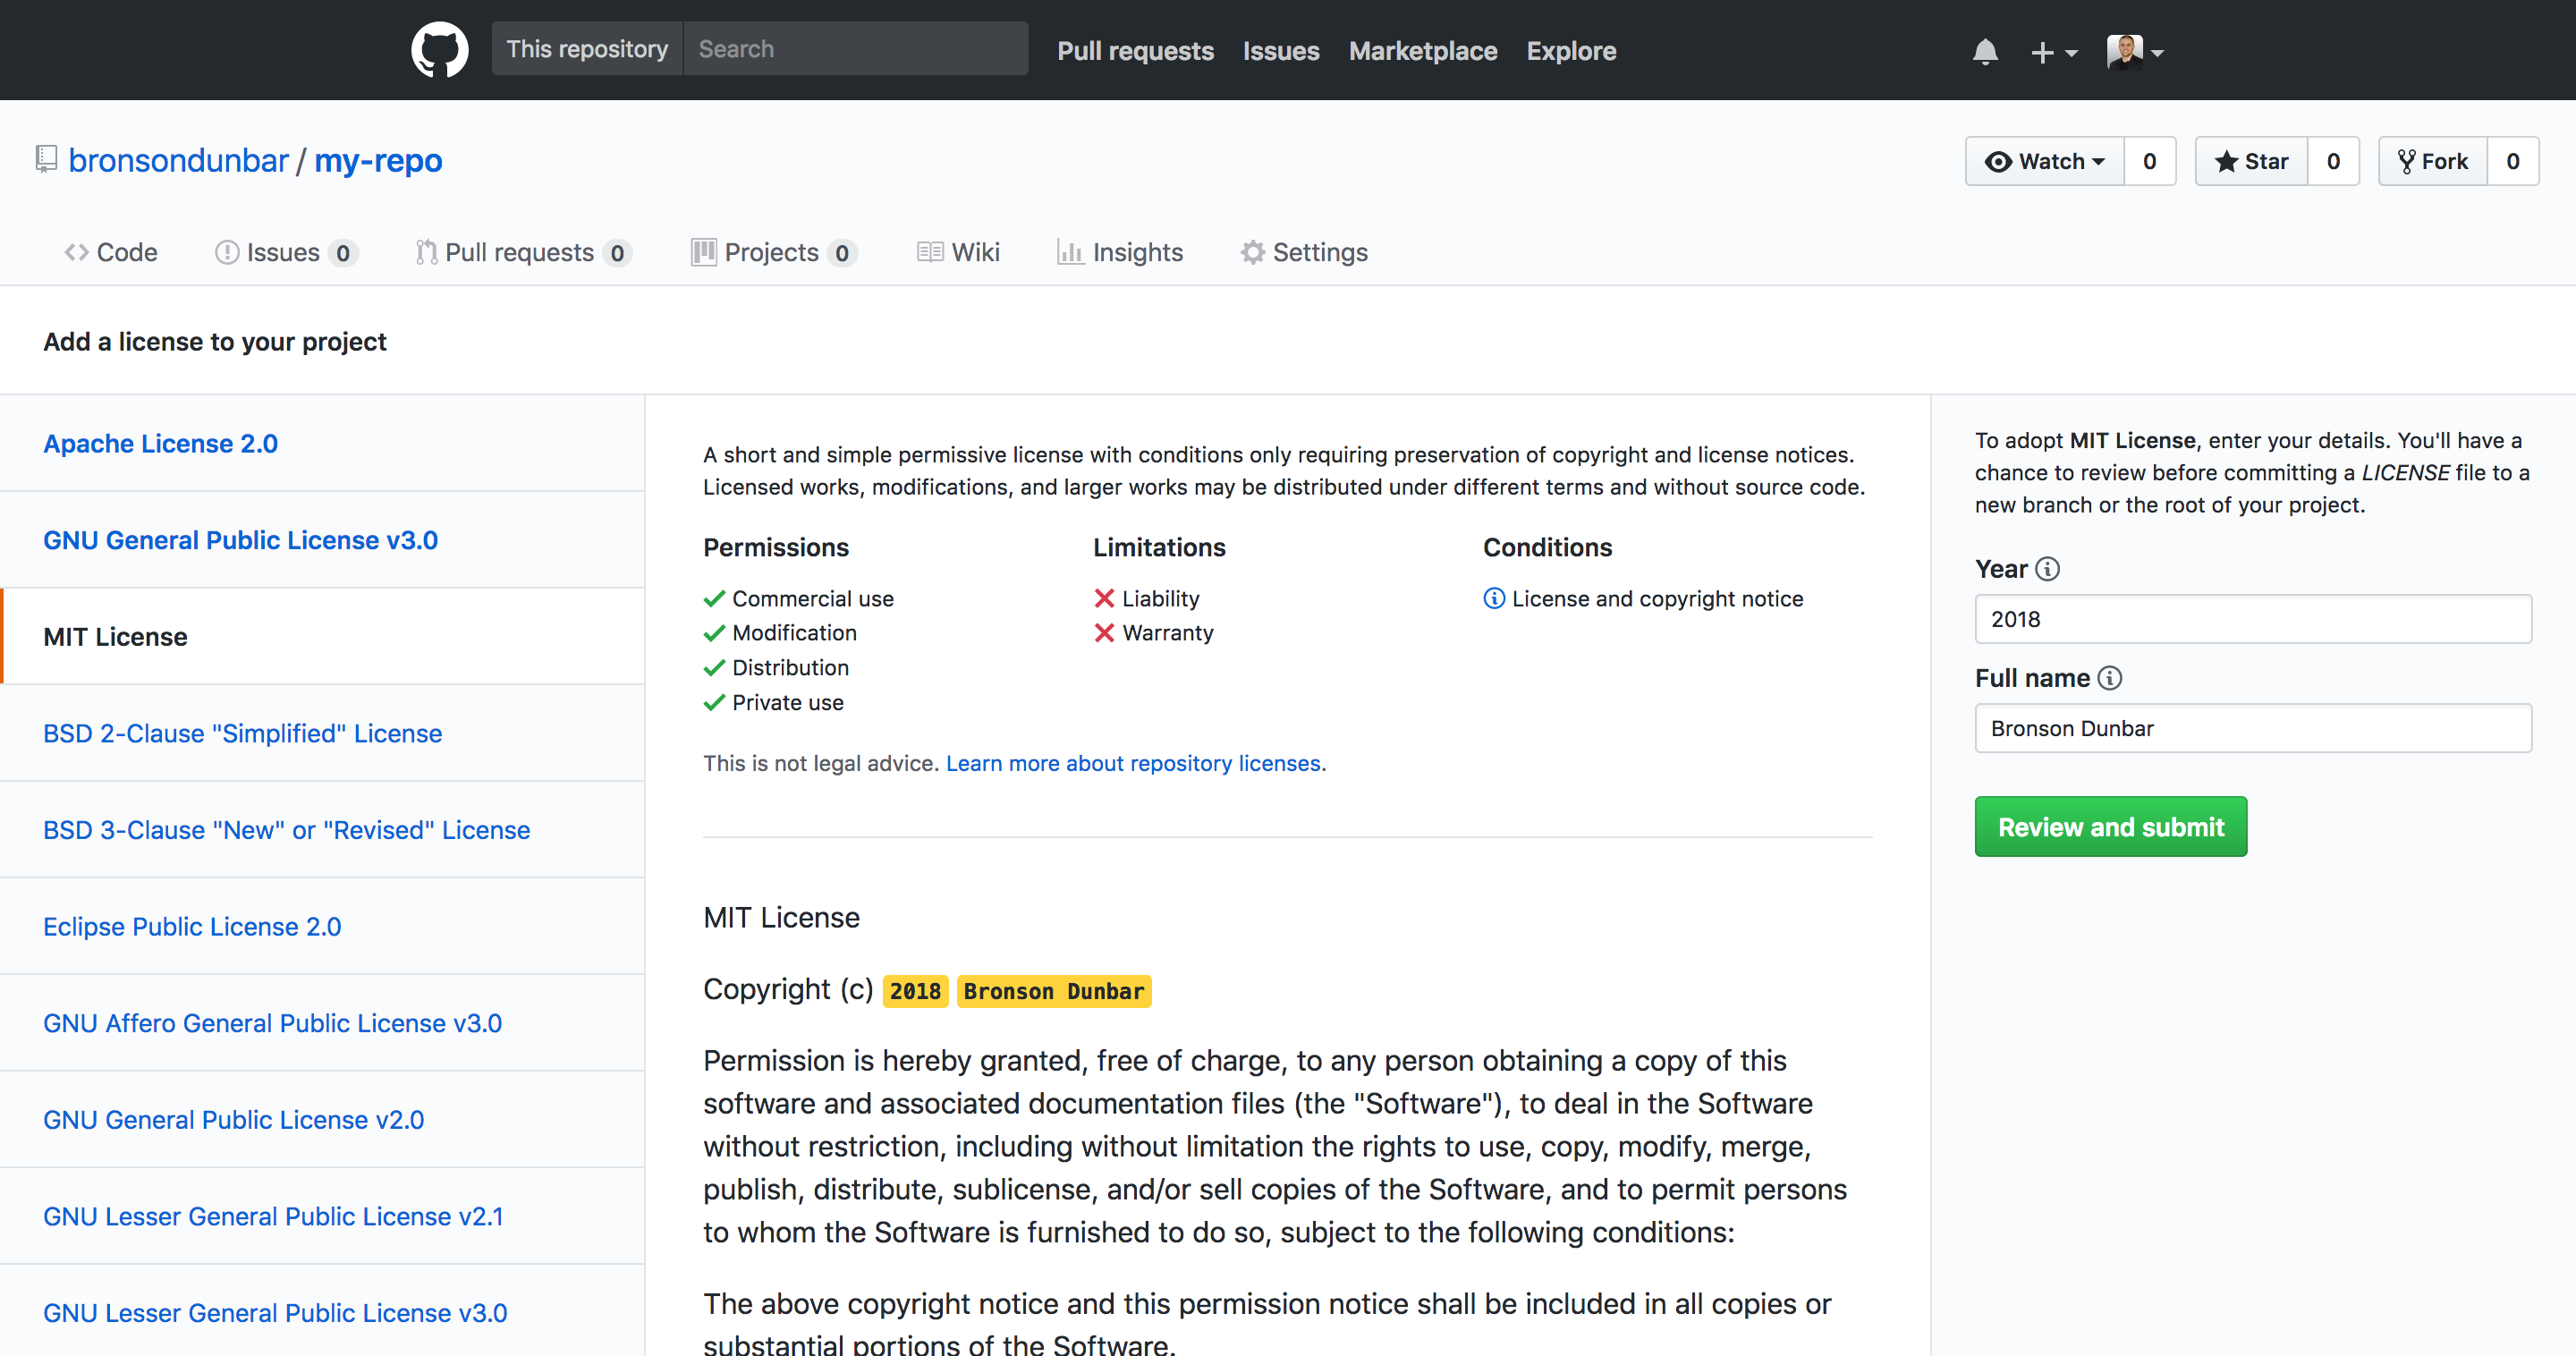
License templates
If you’re not sure what license to use, the MIT license is one of the most common.
To find out more more about the different types of licenses, you can go here.
Once you have chosen a template for your license, you can click Review and submit.
Before you commit your license, make sure to commit it to your master branch.

Commit license
What is a Git branch?
A Git branch is a way of creating a copy of the source code and then changing it.
Why would you want to do this you might ask?
If you have existing source code but you want to add something, you will want to first test the new code you have added before saving it in the repo.
This is where branches come into play.
By creating a branch, you can leave the existing code as is and then add or change whatever you want.
Once you are happy with your changes, you can then create a pull request which merges your branch code with the existing code.
When we created our repo, we pushed to the master branch which would be our primary branch for our source code.
Let’s create another branch and change some code which we will then merge back into our master branch.
Always make sure you are in your source code folder via the terminal.
cd Sites/my-repo
When creating a branch, you can name it anything you want but it is good practice to name the branch relative to the change you are going to make.
git checkout -b title-change
So we are checking out the code on the existing branch we are on and creating a new branch (-b) with the name of title-change.
At the moment the branch is only available in our local repo which means we need to save it in our repo on the GitHub server as well.
To do this, we can run the following command.
git push -u origin title-change:title-change
This very similar to the push command we ran earlier when we saved our source code on the GitHub server, the only difference is instead of pushing to the master branch we are telling Git we want to save our local branch (title-change) to our repo on the GitHub server.
If you go back to your repo on GitHub, you will see the branch is now available under the branch options.
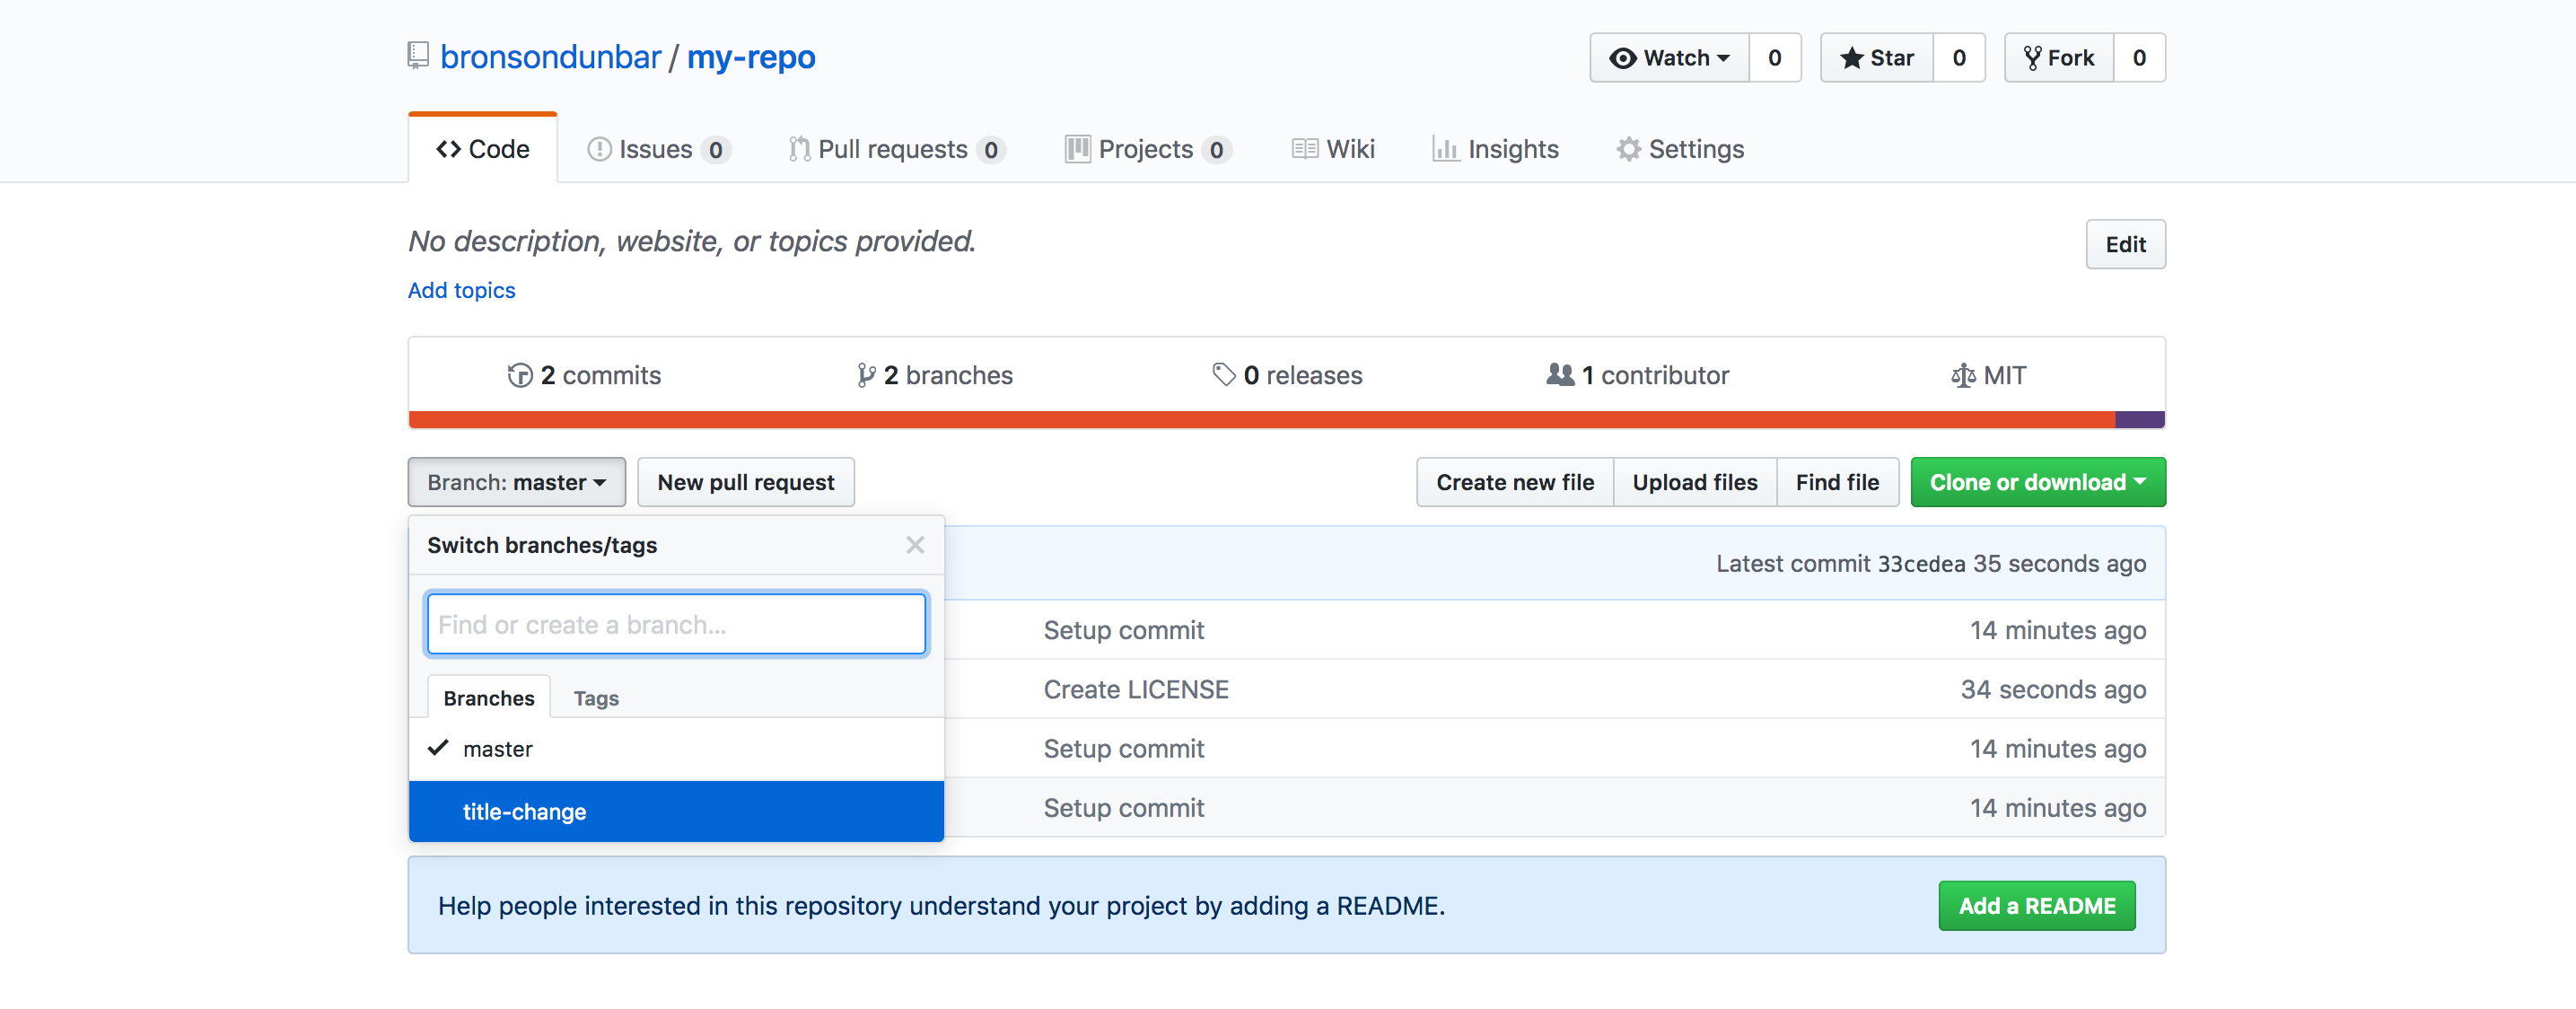
New branch on GitHub
Making changes
Before we start making changes, we want to make sure we’re on the right branch using the following command:
git branch
This will return something like this
master
* title-change
If title-change is highlighted in green, that is the branch we are on.
With that confirmed, let’s make a few changes.
After we’ve made our changes and we’re happy, we can run the following command to see what files we changed and to make our changes have been picked up.
git status
The results from this command will be all the files that have changed since we last committed and pushed
It will also tell us that these changes have not been committed.
modified: index.html
If you made a mistake and don’t want to commit these changes, you can run the following command:
git checkout .
This will revert your local files back to what is in the GitHub repo on the server.
But we’re happy with our changes so we need to commit and push these changes with the following commands:
git add .
git commit -m “Title changed”
git push origin title-change
These commands are very similar to when we first created our repo, with the exception of the last one.
Instead of pushing the changes to the master branch, we are pushing them to the new branch we created.
All we need to do now is create a pull request from the title-change branch back into master so that our master branch is always up-to-date with all the latest changes.
Creating a pull request
If we go to our repo on the GitHub server, you will see a message telling us that changes were pushed to the title-change branch.

New branch changes
On the right of the message you will see a button that says Compare & pull request, click on it.
Things might look a little confusing, but all we want to do is merge our title-change branch into the master branch.
We can set these options under the Open a pull request title.

Pull request options
As you might already see on the left we have the master branch selected and on the right we have our title-change branch.
This means we want to merge the branch on the right into the one on the left.
If we scroll down a bit further we can see the differences between the two branches.
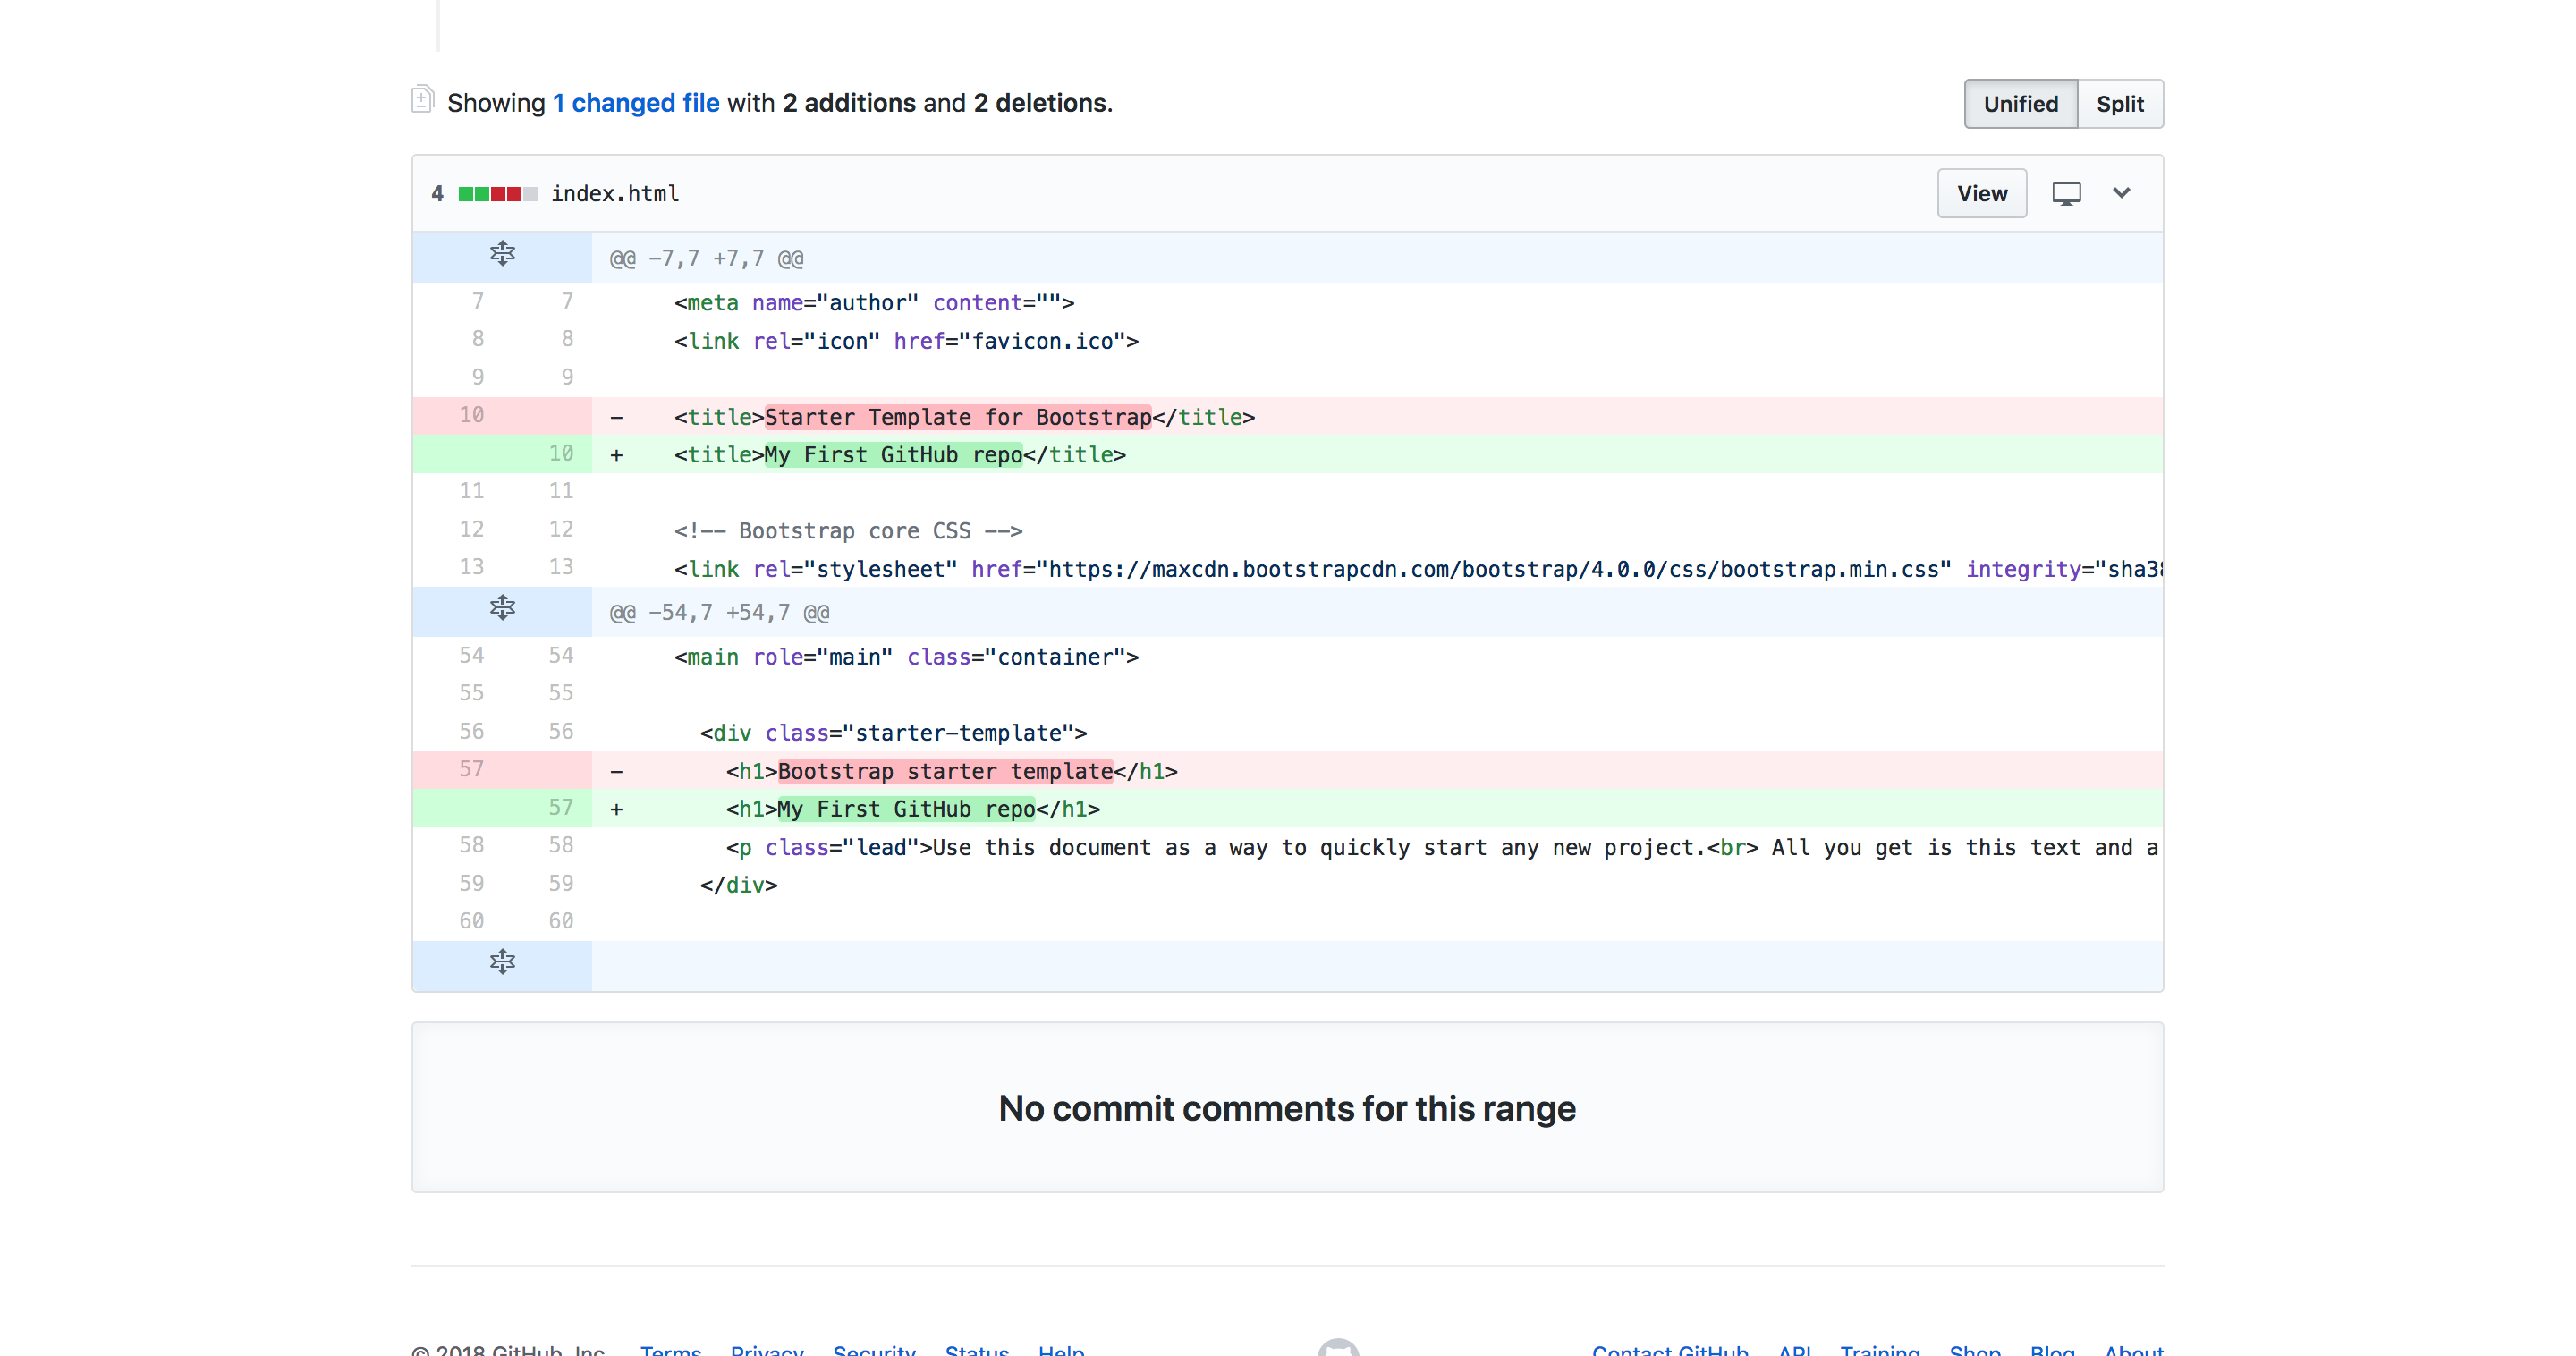
Differences between branches
If the changes you made match up with the differences above, you can click Create pull request.
Because you are the owner of the repo, you will need to merge the pull request as well which you can do on the next screen.
Click on Merge pull request and then Confirm merge.
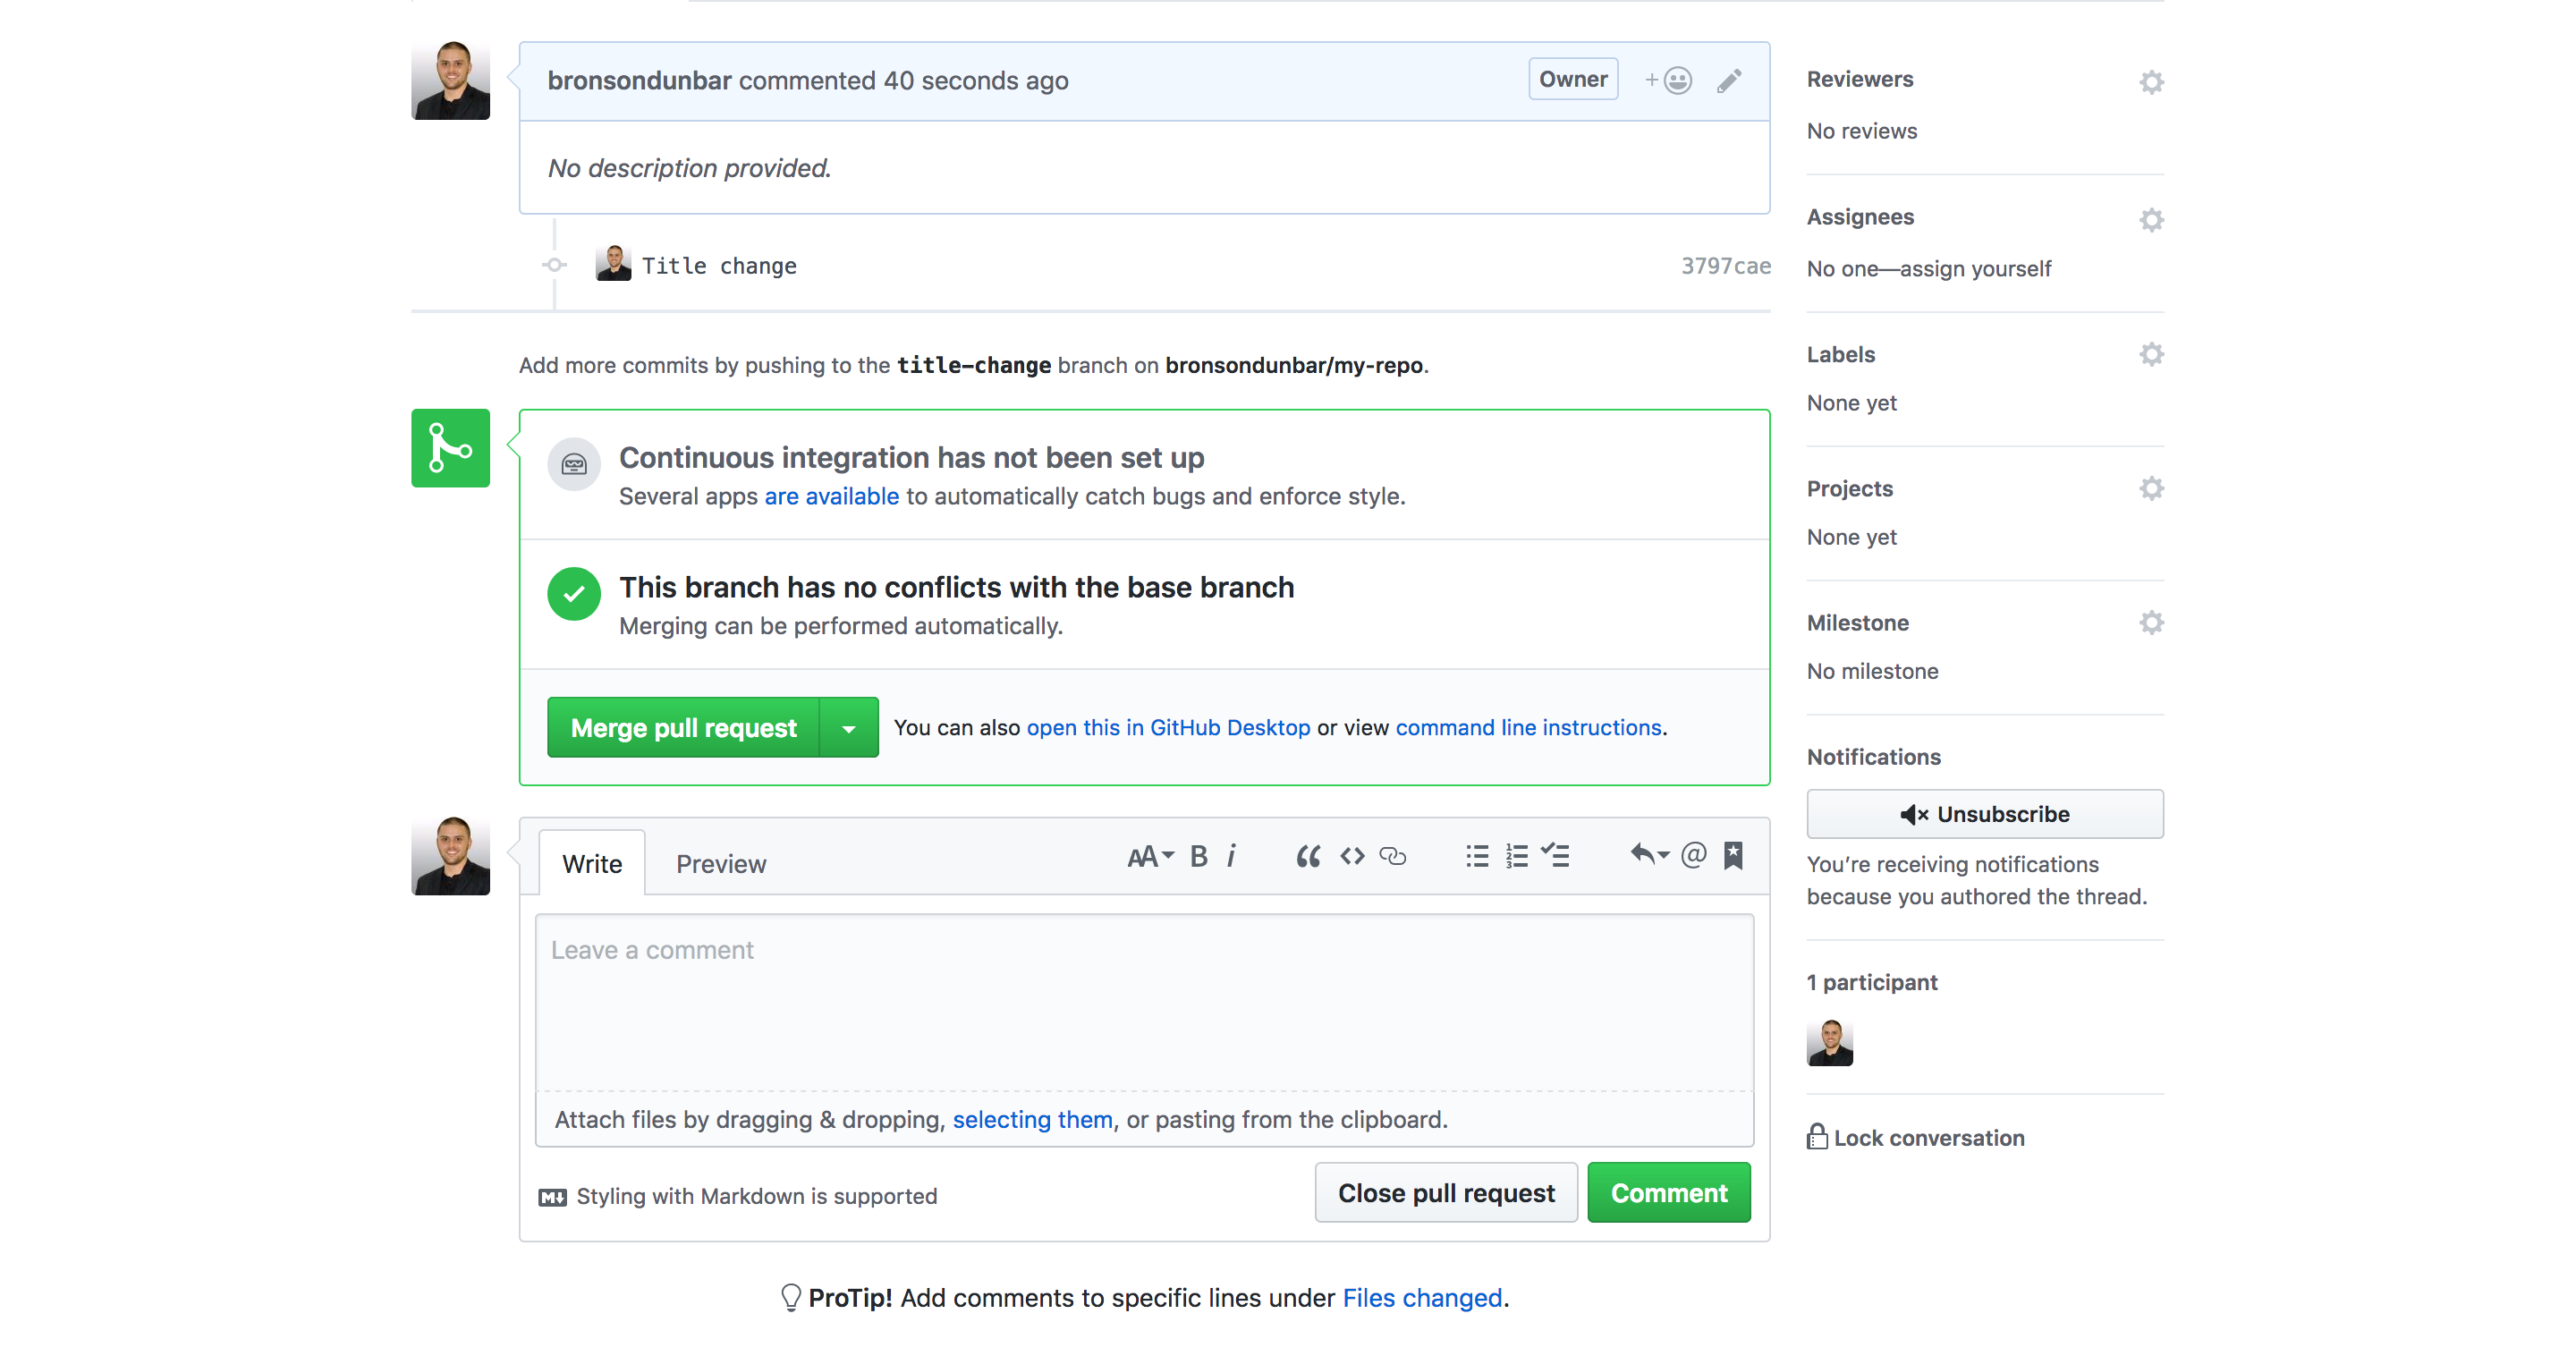
Merge pull request
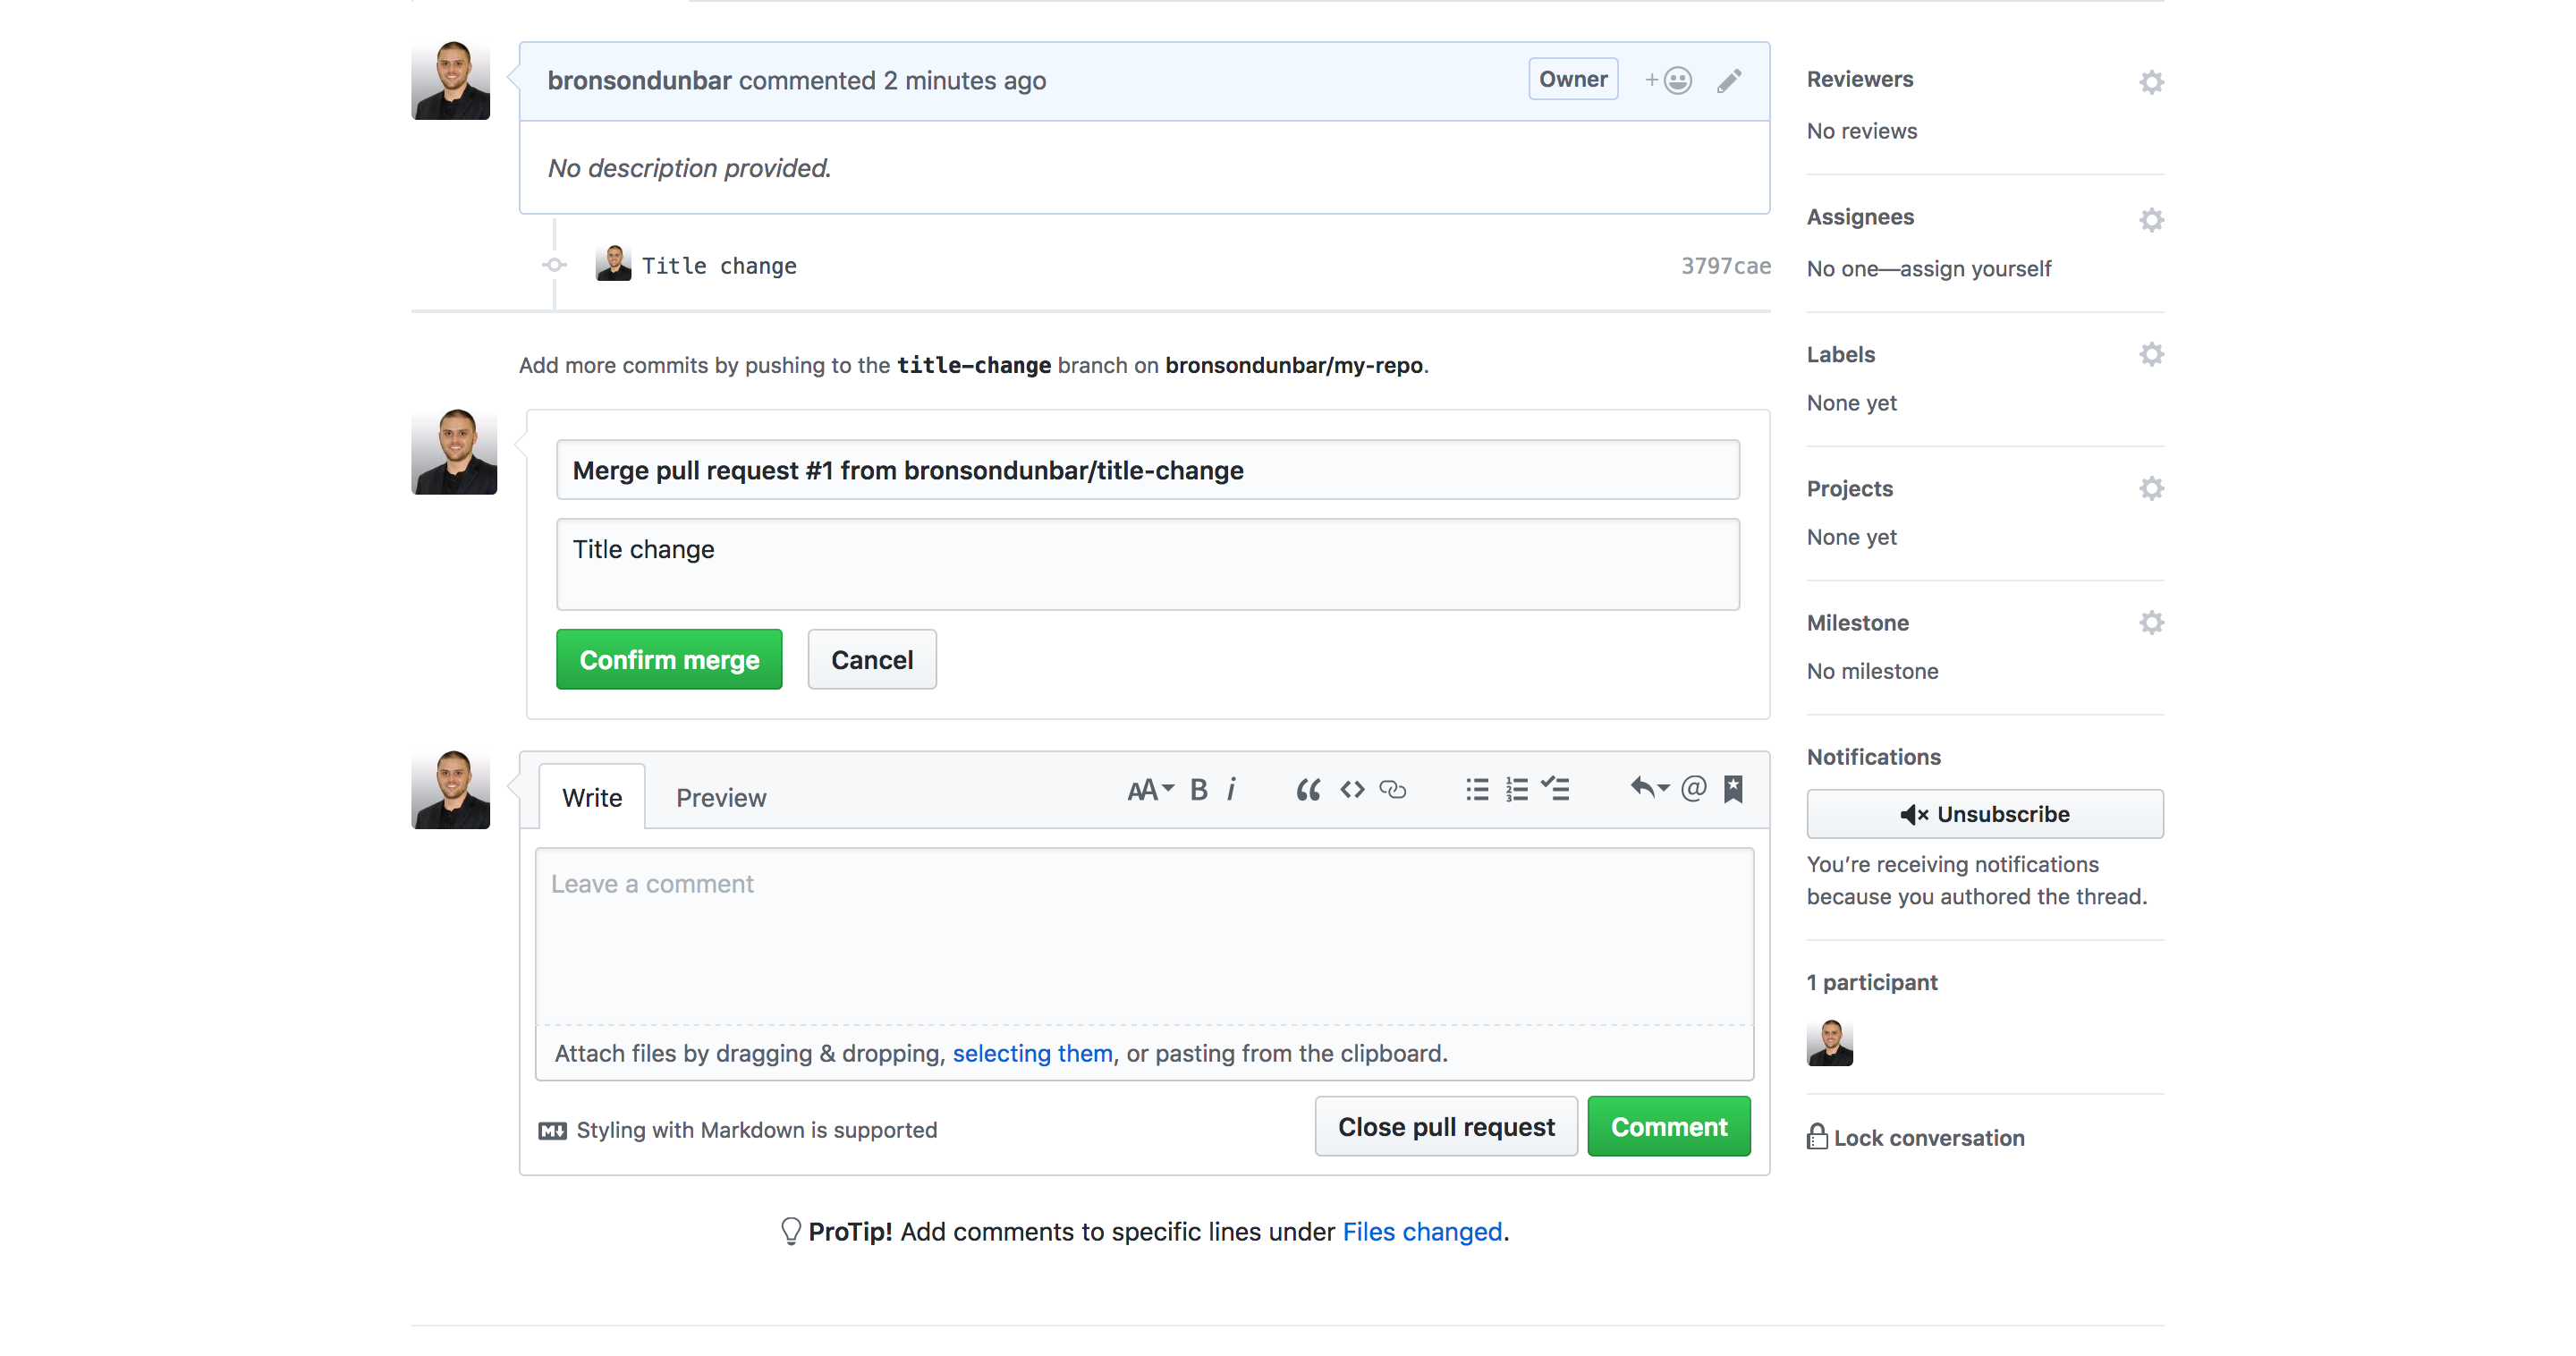
[caption id=“attachment_173” align=“aligncenter” width=“1000”] Confirm merge[/caption]
All the changes from our title-change branch will now be in the master branch.
If you are not going to use the branch again, you can delete it from the GitHub repo once the merge is successful by clicking Delete branch.
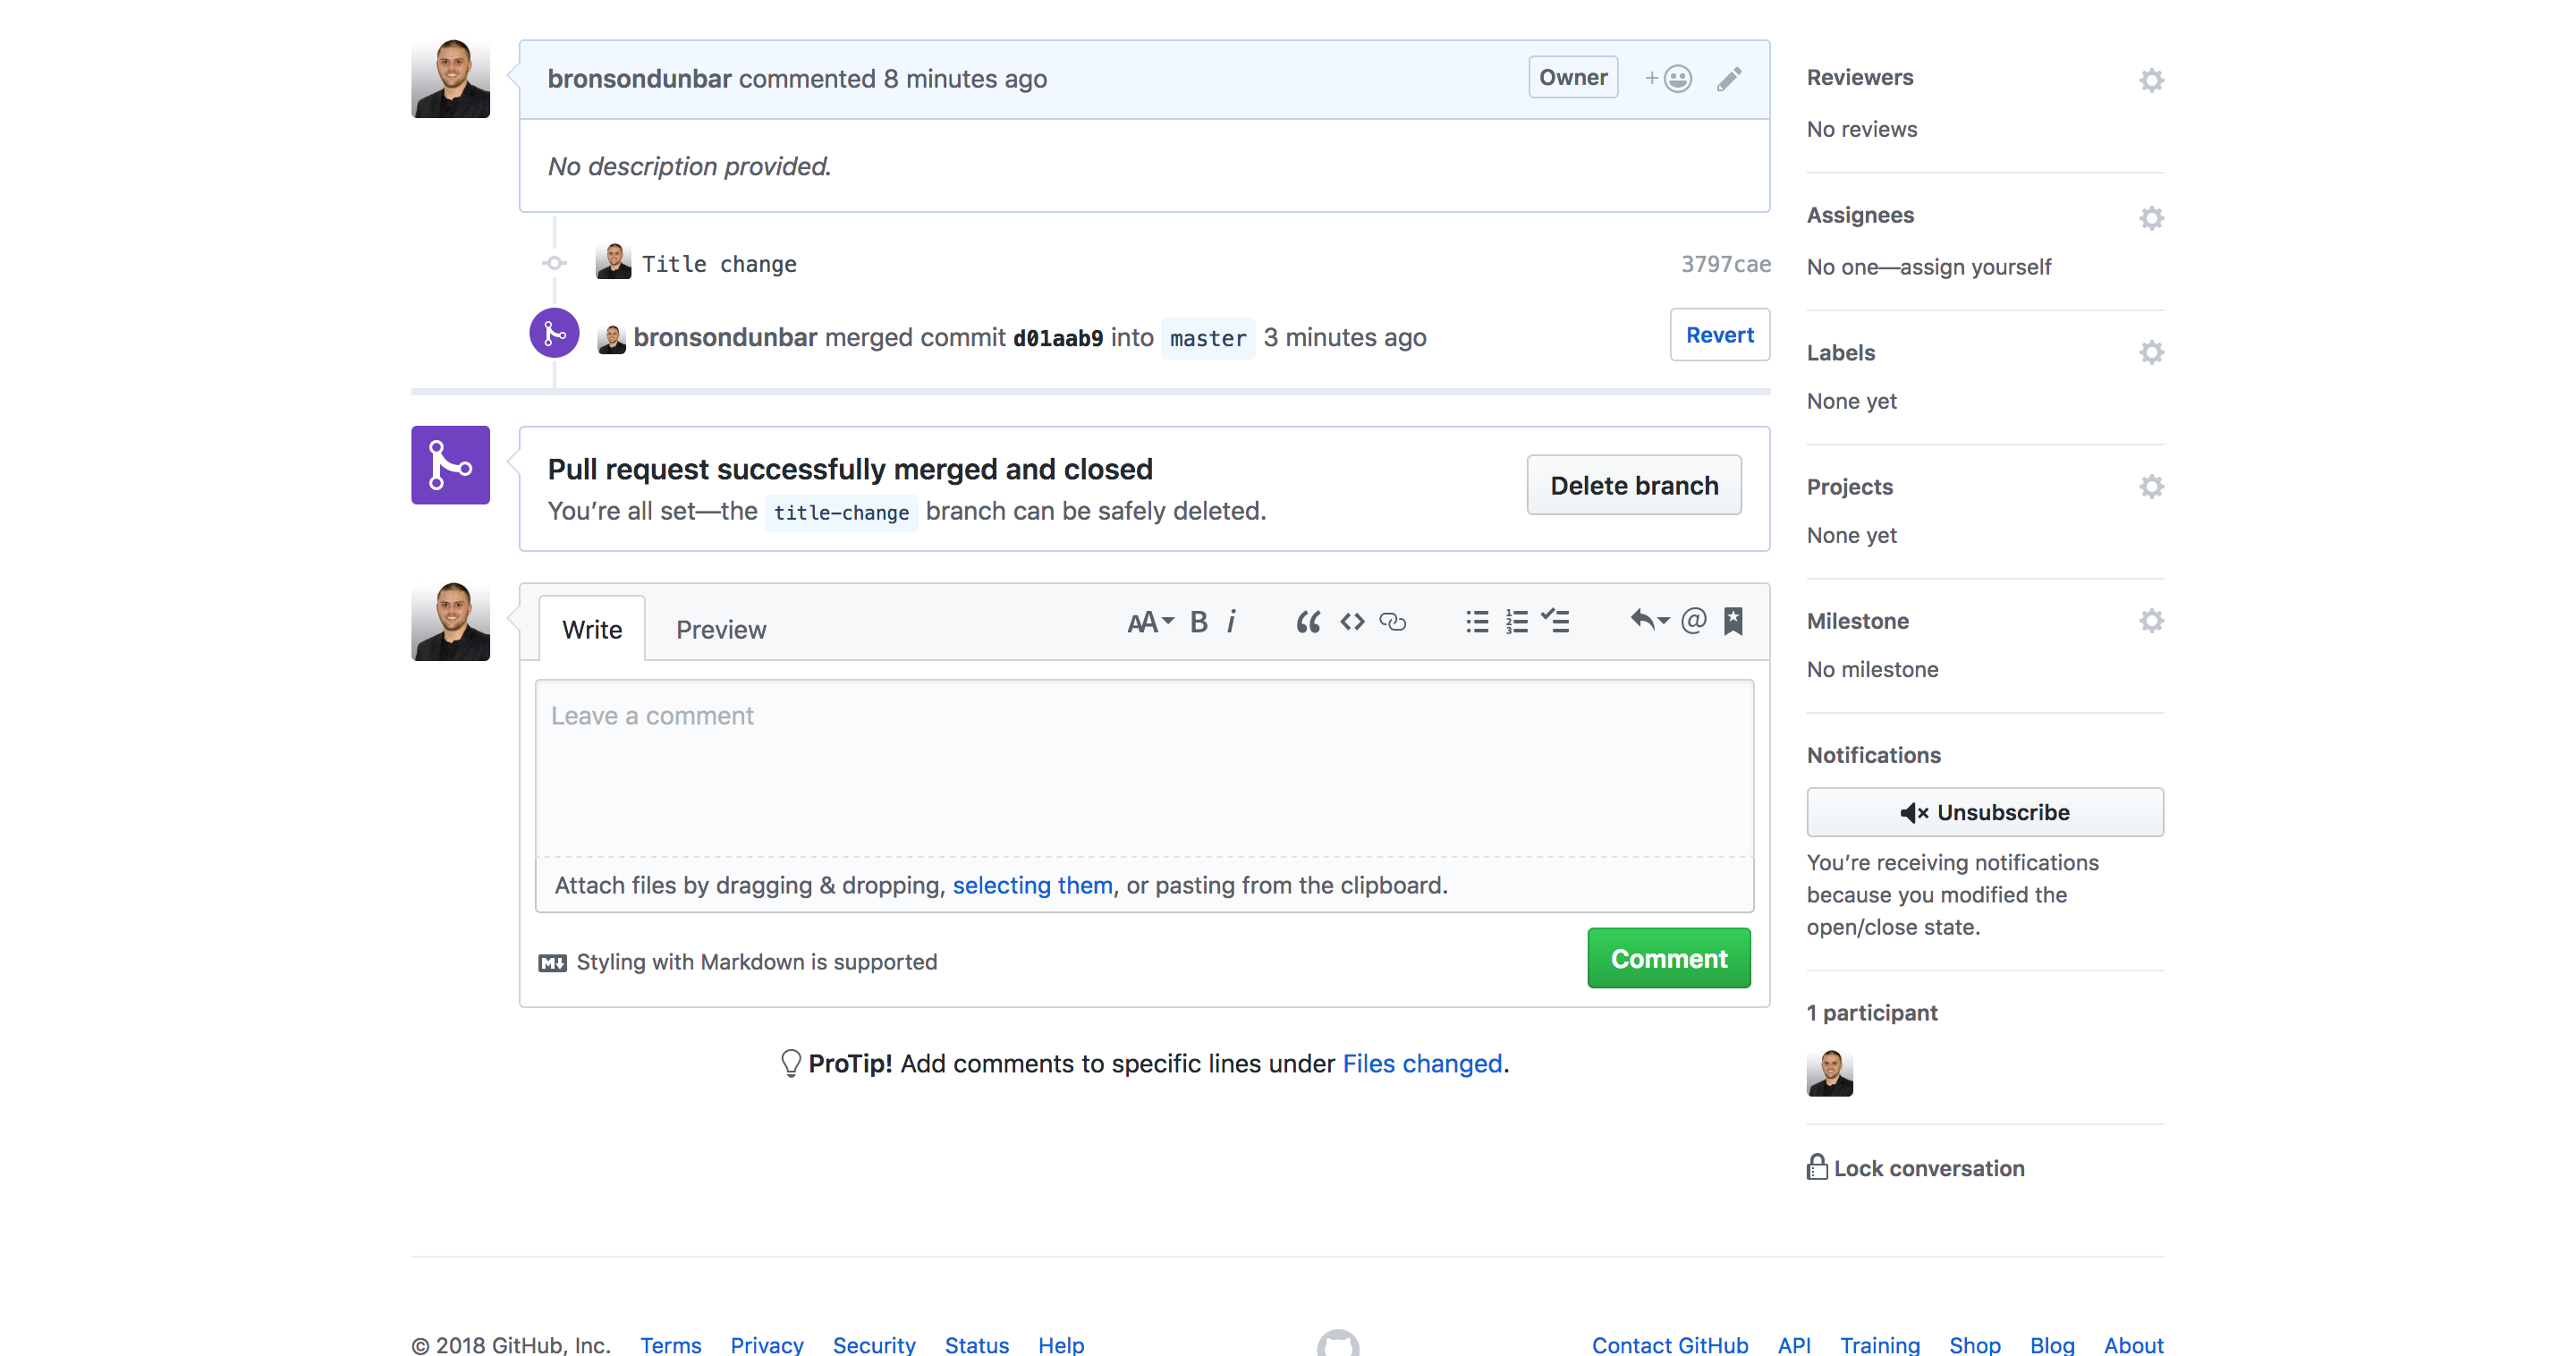
[caption id=“attachment_174” align=“aligncenter” width=“1000”] Delete branch[/caption]
We’ve only deleted the branch on the GitHub server, not on our computer so let’s quickly do that.
Once again make sure you are in the right folder.
If we run the following command it should give show us our title-change branch.
git branch
master
* title-change
Before we delete the branch we need to checkout master again, which we can do with the following command:
git checkout master
We will now be on the master branch again.
But we merge our changes from the title-change branch into master so we need to get those changes from the GitHub server.
All we need to do is run the following command:
git pull origin master
With this command we are comparing the repo on the GitHub server with the one we have on our computer and downloading any changes if there are any.
After the command has been run you will be able to see which files have been updated and the number of changes.
index.html | 4++–
1 file changed, 2 insertions (+), 2 deletions (-)
And that’s it!
It might feel like we’ve covered a lot so far, so let’s have a quick summary of what was discussed.
- We created a repo on GitHub as well as on our computer
- Saved the source code from our computer on the repo we created on the GitHub server
- Created a new branch and made changes
- Save the branch and then the changes we made
- Merged the changes from our new branch into the master
- Deleted our new branch on the GitHub server as well as our computer
- Downloaded the new changes in our master branch
Don’t worry if you can’t remember all the commands or what they do, it takes some practive before you get comfortable using them.
I hope you enjoyed this post and it has helped you with using Git and GitHub.
There is a lot more to both and once you are comfortable using the commands mentioned, you can go through the official resources to learn more here.
If you have any questions or comments, please let me know in the comments below.